How to Bid Painting Jobs A Contractor's Playbook for Winning Bids
- Feb 14
- 17 min read
Figuring out how to bid on painting jobs boils down to a pretty straightforward process: calculate your real costs for paint and labor, then add your overhead and a healthy profit margin. Nail this, and you'll make money on every job instead of just chasing work.
Building Your Foundation for Accurate Bids
Winning profitable painting jobs starts long before you even think about writing up a proposal. The success of any bid really hinges on the detailed groundwork you do upfront.
Think of it like building a house—if the foundation is weak or rushed, the whole thing is at risk. A solid bidding process protects you from surprise costs, keeps your pricing competitive but profitable, and shows the client you’re a pro from day one.
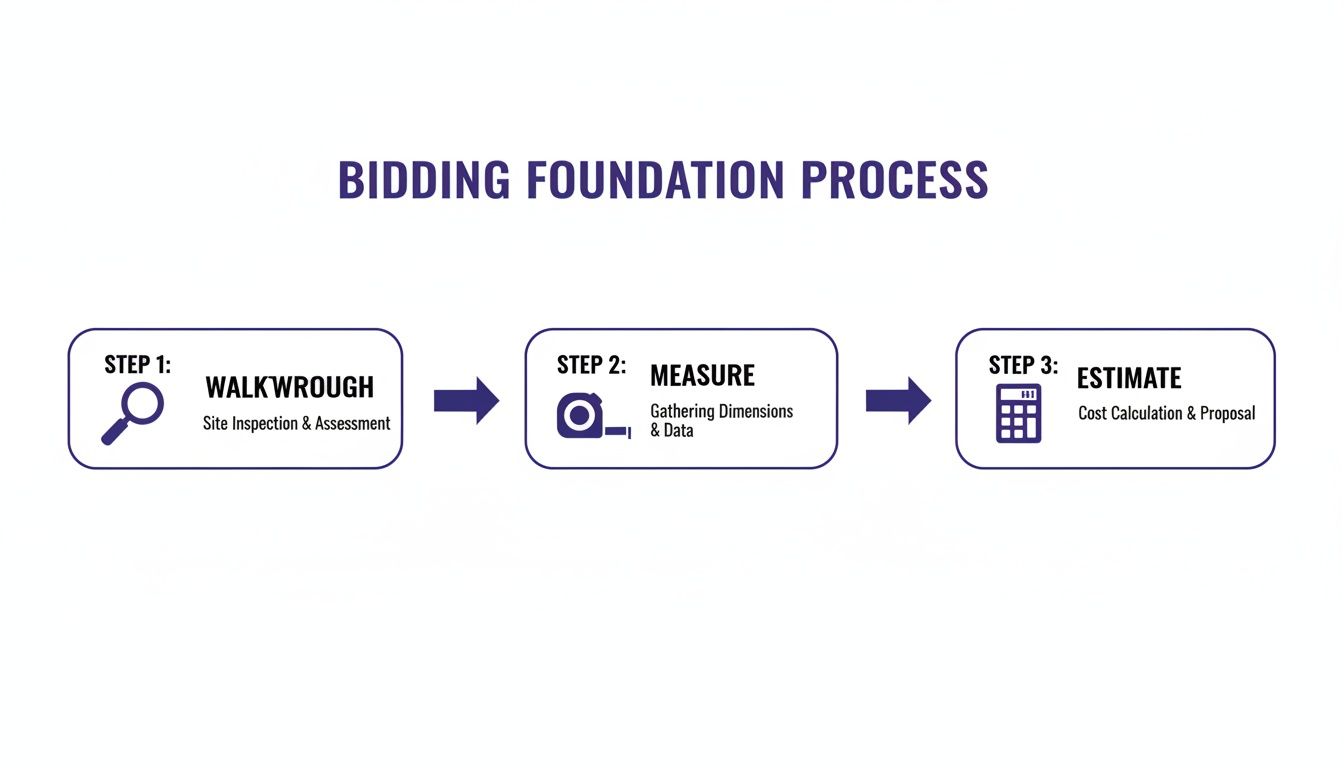
This all breaks down into three key parts: the on-site walkthrough, taking precise measurements, and estimating your materials down to the last roll of tape. Each step builds on the last, turning what you see into hard numbers you can bank on.
The On-Site Walkthrough
The walkthrough is your first and most important mission. This is where you get beyond the simple square footage and spot the little things that can eat up your profit. Walk the entire project with a critical eye, really looking at the condition of every surface.
Keep an eye out for the subtle issues that always add more prep time:
Hairline cracks: They might look small, but they all need to be filled and sanded.
Peeling or bubbling paint: This is a red flag for moisture or adhesion problems. It means scraping, sanding, and priming.
Water stains: You’ll need a good stain-blocking primer to keep those from bleeding through the new paint.
And don't forget the environment. A south-facing wall in San Luis Obispo is going to get blasted by the sun and needs a more durable, UV-resistant paint. In coastal towns like Pismo Beach or Morro Bay, the salt in the air means more prep and specific product choices. Take detailed notes on all of it.
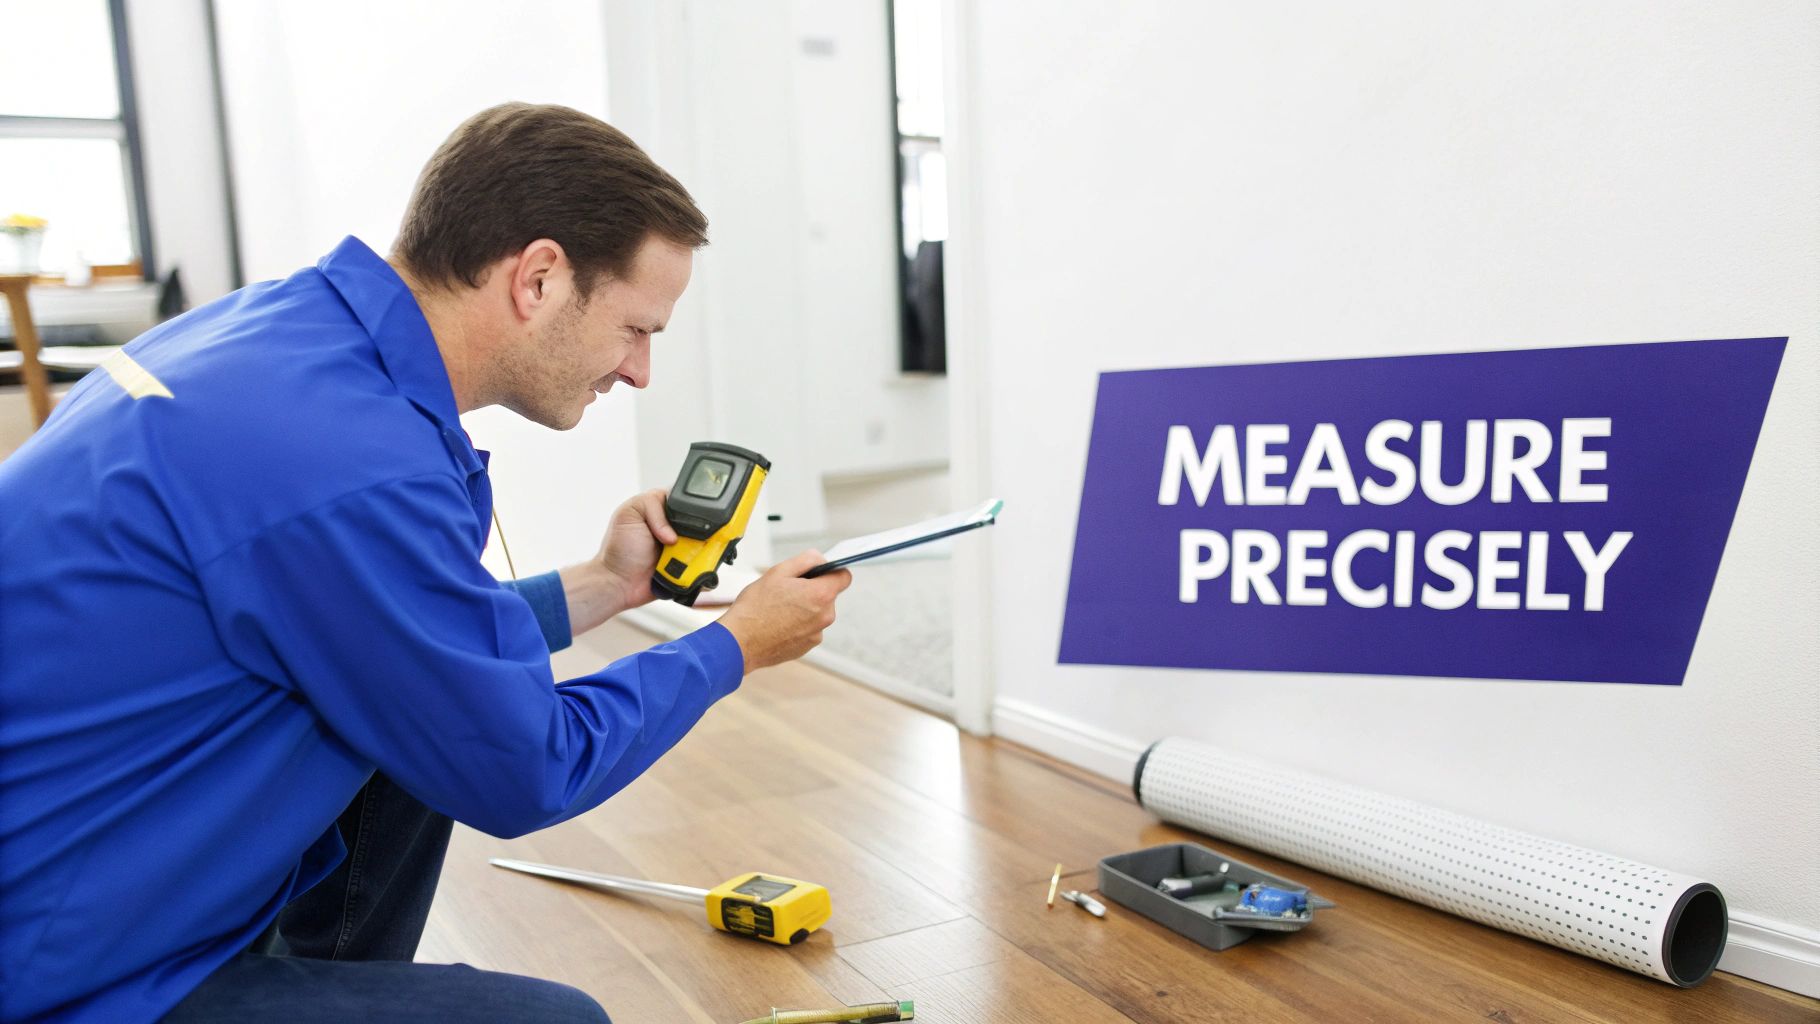
Taking Precise Measurements
Once you have a handle on the prep work, it’s time to break out the tape measure. Fuzzy numbers lead to bad estimates, plain and simple. It’s not enough to just get the length and height of the walls.
You need to account for every single surface you’ll be painting:
Doors and Windows: Measure these to subtract from your wall area, but also to figure out the labor for all that detailed trim work.
Trim and Baseboards: Get the linear feet of all trim. This is often the most time-consuming part of an interior job.
Ceilings and Architectural Features: Don't forget about ceilings, crown molding, or anything else that adds complexity.
A classic mistake is "guesstimating" trim or counting doors from memory. Spending an extra ten minutes to measure everything accurately can save you from eating hundreds of dollars in labor costs down the road.
Estimating Materials Accurately
With solid measurements, you can put together a complete materials list. The key here is to think beyond just the topcoat. Your estimate has to include every single thing you'll need to do the job right.
Start with your paint, but remember that porous surfaces like new drywall will soak up way more product.
Your list needs quantities for everything:
Primers and sealers
Caulk and fillers
Masking tape and plastic sheeting
Sandpaper and cleaning supplies
Rollers, brushes, and sprayer tips
For those of us working anywhere from Paso Robles down to Santa Maria, having the right gear is non-negotiable. Your tools, especially your sprayer, can have a huge impact on material use and labor speed. Knowing what your equipment can do is a crucial part of the bidding process. For more on this, check out our thoughts on finding the best airless paint sprayer for contractors.
To build a solid bidding foundation, it also helps to understand the broader bidding landscape. This guide to winning construction tenders for Australian SMEs has a lot of great foundational advice that applies just as well to painting jobs.
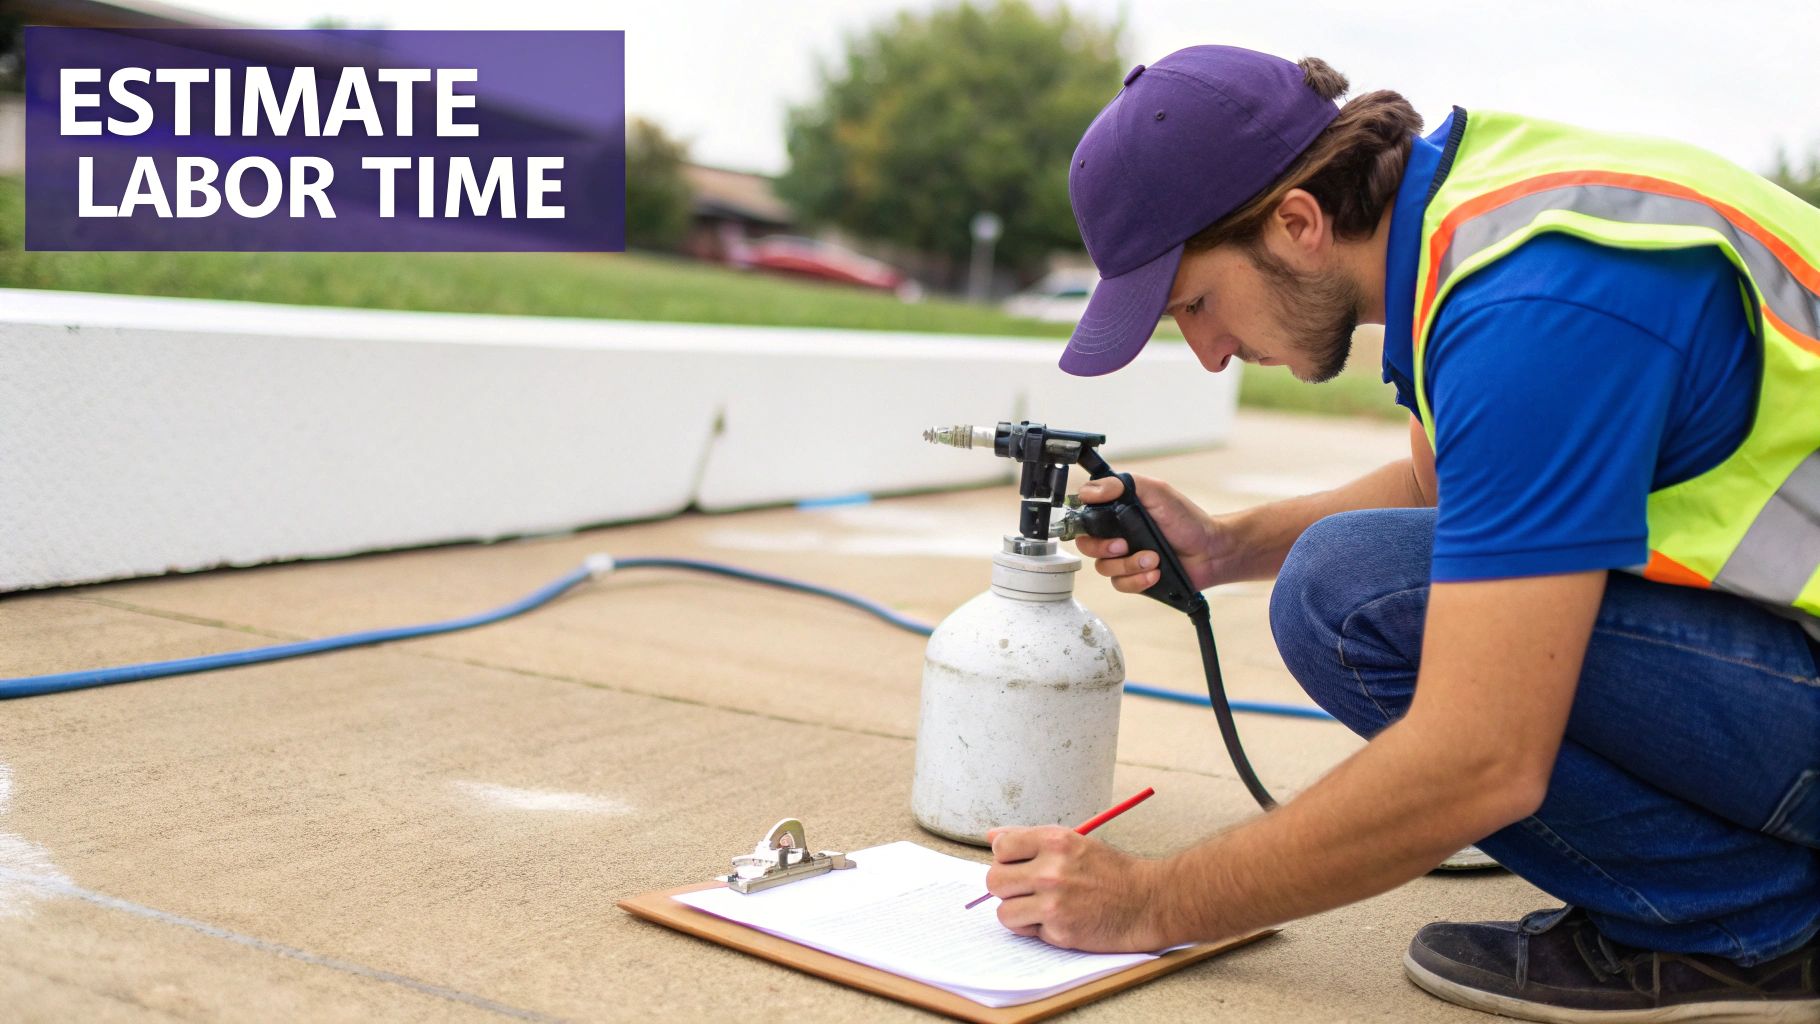
Nailing Your Labor and Equipment Costs
Okay, so you've walked the site and your material list is solid. Now comes the hard part—the part where painting bids are won or lost: figuring out your labor and equipment costs. Materials are what they are, but your labor estimate is where your profit lives or dies. Get this wrong by even a few hours, and a great-looking job can quickly turn into a money pit.
This is exactly why you can't just guess your hours. You need a reliable system based on real-world productivity rates. Think of these as your personal benchmarks—how long it actually takes your crew to get specific tasks done.
For instance, your team might knock out 300 square feet of smooth exterior siding with a sprayer in an hour. But an interior room of the same size, with detailed trim work that needs to be brushed and rolled? That could easily take three times longer. The only way to know for sure is to track your time on every job until you’ve built a database of your own reliable numbers.
Breaking Down Labor By Task
One of the biggest mistakes painters make is lumping all their labor into one big number. A much smarter—and more accurate—way is to break the job down into phases and bid each one separately. This approach forces you to see all the "hidden" time that gets lost when you’re in a hurry to shoot a price over to the client.
Make sure your labor estimate accounts for everything:
Setup and Breakdown: This isn't just about painting. It's loading the truck, laying down tarps, masking, and the final sweep-up. Don't forget to factor in travel time, especially for jobs that take you all over the map from Paso Robles to Santa Maria.
Prep Work: This is the single most underestimated part of almost every painting bid. You have to account for every minute spent scraping, sanding, patching drywall, caulking seams, and doing meticulous masking.
Application: Here's where you calculate the actual painting. Figure out the time for priming and for each topcoat, and be realistic about whether you're brushing, rolling, or spraying. Each method has a completely different productivity rate.
Contingency: Things go wrong. Always add a buffer. Building in a 10-15% contingency on your labor hours is a smart move that protects you from surprises, like stubborn wallpaper that won't budge or old drywall that soaks up paint and needs a third coat.
Look at it this way: the actual painting is usually the shortest part of the job. For a 40-hour project, it's pretty common for 25 of those hours to be spent on prep and setup alone. If you ignore that reality, you’re setting yourself up to lose money.
The True Cost of Your Equipment
Your tools aren't a one-time purchase, and their real cost goes way beyond what you paid at the store. To bid accurately, you have to account for the wear and tear your gear takes on every single job. This is especially true for your big-ticket items, like airless paint sprayers.
An easy way to handle this is by building an equipment recovery charge into your hourly rate or adding it as a line item. This isn't just about covering the sprayer's depreciation; it's also for all the ongoing maintenance and parts that keep it running.
Think about all the costs that come with your sprayer:
Sprayer Maintenance: This includes regular cleaning, fluid changes, and replacing worn-out parts.
Consumable Parts: Tips, filters, and packing kits don't last forever. They need to be replaced often.
Hoses and Guns: These components get beat up on job sites and will eventually need to be repaired or replaced.
Let's take a sprayer tip, for example. A good one might cost you $40 and last for about 50 gallons of paint. That means you’re adding nearly $0.80 per gallon in tip costs alone to every job you spray. It sounds small, but that adds up fast over the course of a year. For local painters in San Luis Obispo or Atascadero, having a go-to service center is a must to keep your equipment in prime condition and protect your investment.
To really dial in your bids, you need to connect your material estimates to your labor and equipment use. For a deeper look at that, check out our guide on how to calculate paint coverage like a pro. It’s the perfect resource for making sure your numbers line up. When you methodically calculate labor and factor in the true lifecycle cost of your equipment, you build a bid that protects your profit and paves the way for a smooth, successful project.
Setting Your Overhead and Profit Margin
So far, we've nailed down the direct costs for the job—your labor, materials, and equipment. That's a solid start, but if you stop there, you're only pricing to break even. To actually run a profitable business that grows, you need to add two more layers to every bid: overhead and profit. This is the step that turns a basic cost estimate into a winning, sustainable price.
A lot of painters lump these two together, but they're completely different things. Overhead is what it costs just to keep the lights on and the business running. Profit, on the other hand, is the money you actually make—the reward for your hard work and the fuel for future growth. Getting both right is the bedrock of a healthy painting company.
Defining and Calculating Your Overhead
Think of overhead as all the business expenses that aren't tied to one specific project. These are the costs humming along in the background, whether you're painting a new build in Arroyo Grande or just cleaning your sprayers back at the shop in San Luis Obispo.
Common overhead costs usually include things like:
Insurance: General liability, workers' comp, and your commercial auto policies.
Vehicle Expenses: Gas, maintenance, and loan payments for your work van or truck.
Shop or Office Rent: If you have a physical location for storage or admin.
Utilities: Your business phone, internet, and electricity bills.
Software and Subscriptions: Tools for accounting, estimating, and marketing.
Marketing and Advertising: Website costs, business cards, and local ads.
Salaries: Any pay for office staff or other non-billable employees.
To figure out how much overhead to bake into each bid, you need to calculate your overhead recovery rate. A straightforward way to do this is to total up your annual overhead costs and divide that by your total annual sales.
For example, if your yearly overhead adds up to $50,000 and your total sales are $250,000, your overhead rate is 20% ($50,000 / $250,000). That means you need to add a 20% markup to every single job just to cover these essential background costs.
Strategically Setting Your Profit Margin
Once your overhead is covered, it’s time to add your profit. This isn't just some random number you pull out of a hat; it’s a strategic decision. In the painting industry, a healthy profit margin usually lands somewhere between 15% and 30%, but that number can and should change from job to job.
You'll want to adjust your profit margin based on a few key factors:
Job Complexity: A tricky job with high ceilings, tons of intricate trim, or specialty finishes involves more risk and deserves a higher margin.
Client Type: Commercial jobs often come with stricter timelines, more paperwork, and longer payment cycles, which justifies a bigger profit cushion.
Market Demand: When it's the busy season in places like Paso Robles or Atascadero, you can command a higher margin because everyone needs a painter.
Your Reputation: If you're the go-to painter with a long list of glowing reviews, you've earned the right to charge more than a brand-new outfit.
Your profit margin is your growth engine. A 10% profit might keep you in business, but a 25% profit is what lets you buy that new sprayer, hire a top-notch crew leader, and build a company that's still around in ten years.
Here's a quick look at how these numbers come together in a real-world bid. This sample calculation shows how you'd apply your overhead and profit markups to your base costs for a commercial exterior project.
Sample Bid Calculation Breakdown
Cost Item | Description | Amount |
|---|---|---|
Direct Costs | Your total for labor, materials, and equipment. | $8,000 |
Overhead Markup (20%) | Adds your 20% overhead rate to the direct costs. | $1,600 |
Subtotal | The break-even price for the job. | $9,600 |
Profit Markup (25%) | Adds your 25% profit margin to the subtotal. | $2,400 |
Final Bid Price | The total price you present to the client. | $12,000 |
By following this structure, you ensure every cost is accounted for and that the job is truly profitable.
Keeping an eye on broader industry trends can also give you an edge. For instance, experts often suggest adding a 15-20% contingency to account for things like fluctuating paint prices, which jumped by 10% in 2023. Smart bidders also use data from past jobs to see where they might have underbid—some find they've lost out on 25% in potential profit.
For any painter on the Central Coast, from Templeton down to Grover Beach and Nipomo, knowing your numbers is what separates the pros from the amateurs. When you methodically apply your overhead and a strategic profit margin, you guarantee that every job doesn't just pay the bills but actively builds a stronger, healthier business.
Crafting a Professional Proposal That Wins Jobs
Your detailed estimate is the engine of your bid, but the proposal is the vehicle that delivers it. A professional proposal does more than just state a price; it's your final sales pitch, a legal safeguard, and the roadmap for the entire project. This is where you translate all those careful calculations into a document that builds trust and convinces the client you're the right pro for the job.
It’s your chance to stand out. While some competitors might just shoot over a one-line text with a number, a detailed, professional proposal shows you're serious about your craft and respect the client's investment. It sets the tone for your entire relationship.
Core Components of a Winning Proposal
To build a proposal that protects your business and wins over clients, it needs to be crystal clear, comprehensive, and professional. Think of it as answering every question the client might have before they even think to ask.
Your proposal should always nail these key elements:
Your Company Information: Full business name, address, phone, email, and your contractor's license number. This isn't just a formality—in California, for example, any project over $1,000 requires a CSLB license, so displaying it prominently is a must.
Client Information: The client's name and the physical address of the project.
A Detailed Scope of Work: This is the most critical part. Don't just say "paint exterior." Get incredibly specific about what is—and just as importantly, what is not—included.
Project Timeline: An estimated start date and how long you expect the project to take.
Total Cost and Payment Schedule: The final price, broken down clearly, along with when payments are due.
Getting this level of detail down on paper prevents headaches and misunderstandings later. It creates a shared set of expectations for both you and your client, which is the foundation of a smooth project.
Detailing the Scope of Work
The "Scope of Work" is where you really flex your expertise. It’s your opportunity to walk the client through your entire process, showing them the value packed into your price. A well-defined scope leaves zero room for guesswork.
Here’s how to break it down effectively:
Surface Preparation: Detail every single prep step. Use specific language like, "Pressure wash all exterior surfaces to remove dirt and mildew," "Scrape all loose and peeling paint," "Sand all rough surfaces," and "Caulk all gaps in siding and trim with a high-quality elastomeric sealant."
Product Specifications: Name the exact products you plan to use. For instance, "Prime all bare wood with one coat of Sherwin-Williams ProBlock Primer," and "Apply two topcoats of Sherwin-Williams Duration Exterior Acrylic Latex in a satin finish." This shows your commitment to quality materials and gives the client confidence.
Areas to Be Painted: List every surface included in the bid. Specify things like "all siding, trim, fascia, gutters, and entry doors." Be just as clear about exclusions to avoid scope creep, like "decking, fences, and outbuildings are not included in this proposal."
A vague scope is an invitation for conflict. A detailed scope is your best protection against "scope creep"—when the client starts asking for extra work that wasn't part of the original agreement. It clearly defines the boundaries of the job.
Setting Clear Terms and Conditions
Beyond the scope, your proposal has to include the business terms that govern the project. These clauses protect your cash flow, manage expectations, and create a clear process for handling changes.
Key clauses you should always include:
Payment Schedule: A common schedule is a 10% deposit upon signing, 40% when work begins, and the final 50% after the final walkthrough and client sign-off.
Change Order Procedure: State clearly that any changes or additions to the agreed-upon scope of work must be documented in a written change order. This document will be priced out and must be approved by the client before any additional work starts.
Warranty: Outline what your workmanship warranty covers and for how long. Be specific about what it doesn't cover, like damage from external factors or pre-existing structural issues.
When you're bidding on larger commercial projects, highlighting your credentials can give you a serious edge. For painting contractors in San Luis Obispo and nearby areas, showing a commitment to safety and quality can set you apart. For those in bigger markets, credentials like an ISO 45001 certification can be a powerful differentiator, as it demonstrates a formal, audited commitment to top-tier occupational health and safety standards.
Common Bidding Mistakes to Avoid
Even the most experienced painting contractors can fall into bidding traps that eat into profits and tarnish their reputation. Learning how to bid a painting job correctly is just as much about spotting these pitfalls as it is about crunching the numbers. If you can steer clear of these common errors, you'll build a name for yourself as a reliable pro and start landing better clients.
The biggest and most expensive mistake I see painters make is underestimating prep work. It's easy to get focused on the finish, but the reality on the ground is that scraping, sanding, patching, and cleaning almost always take more time than the actual painting. A bid that doesn't meticulously account for every minute of prep is a bid destined to lose money.
Another trap that's easy to fall into is forgetting all the little costs, what we call sundries. These are the essentials that add up fast.
Masking materials: Don't forget tape, paper, and plastic sheeting.
Abrasives: This includes sandpaper, sanding sponges, and discs for your power tools.
Cleaning supplies: Rags, tack cloths, and various cleaning agents.
Applicator wear: Brushes, roller covers, and sprayer tips all have a limited lifespan.
Forgetting to budget for these items is like giving them away for free on every single job.
Overlooking Equipment and Contingencies
Your equipment isn't just a one-time purchase; it's an ongoing operational cost you have to factor in. Too many bids completely ignore the wear and tear on sprayers, hoses, and pressure washers. This oversight slowly bleeds your profits, because you aren't setting aside funds for the inevitable maintenance and replacement parts.
Regular upkeep is a non-negotiable, and you can learn how to maximize your gear's lifespan from our pro guide on how to clean an airless paint sprayer.
The race to the bottom on price is a race you can't win. Submitting the lowest bid without a clear understanding of your true costs is a surefire way to cut corners, deliver subpar work, or lose money on the project.
Finally, every single project has its surprises. It's just the nature of the business. Whether you discover hidden wood rot behind a fascia board or deal with a week of unexpected rain, not building a contingency fund into your bid is a massive risk.
A 10-15% contingency buffer protects your profit margin and lets you handle unforeseen issues like a professional, without having to go back to the client with your hand out.
For contractors here on the Central Coast, from San Luis Obispo and Paso Robles to Atascadero and the Five Cities area (Arroyo Grande, Grover Beach, Pismo Beach), a reputation for accurate, thorough bids is everything. Serving communities from Morro Bay and Cambria down to Nipomo means you have to be prepared for anything. By avoiding these common mistakes, you ensure your bids are both competitive and, most importantly, profitable.
Supporting Contractors on the Central Coast
For any painting pro on California's Central Coast, bidding a job with confidence comes down to one thing: knowing your gear won't let you down. When your equipment is dialed in, you can bid tighter, work faster, and keep the promises you make to clients. A surprise breakdown on-site? That can flip a profitable job into a loss in a matter of hours.
This is especially true out here. One day you could be working in the rolling hills of Paso Robles or Templeton, and the next, you're on a coastal project in Pismo Beach or Morro Bay. Having a local resource who gets it—and can keep you running without costly delays—is everything.
Your Local Partner From North County to the Five Cities
We're proud to be the go-to for painting contractors all across San Luis Obispo County. Our roots are deep in this community, so we know the unique challenges you're up against, whether it’s a big commercial job in downtown San Luis Obispo or a detailed residential repaint in Atascadero.
We’ve made sure our service footprint covers you wherever a job takes you, including:
The North County: Covering Paso Robles, Templeton, and Atascadero.
The Five Cities Area: Including Arroyo Grande, Grover Beach, and Pismo Beach.
Coastal Communities: From the seaside towns of Morro Bay and Cambria.
South County and Beyond: Extending down through Nipomo and into Santa Maria.
No matter where you're bidding, expert help is never far away.
For a contractor, uptime is everything. A sprayer that goes down mid-job isn’t just an inconvenience; it's a direct threat to your schedule, your labor budget, and your reputation. Having a local service center that can get you back up and running fast is a critical business asset.
We've built our entire operation around what working contractors actually need. Our local parts counter means you get what you need today, not in a few days after it ships. And when you need more than just a part, our technical support team is right here to help you troubleshoot over the phone or in person.
Because we’re an authorized warranty service center for top brands like Graco and Wagner, you can invest in quality equipment with real peace of mind. You know professional maintenance and repairs are right around the corner, keeping your gear at peak performance for years. That local backing is a huge advantage, letting you focus on what you do best: bidding and knocking out amazing paint jobs.
Your Top Bidding Questions, Answered
When you're deep in the weeds of bidding, a few questions always seem to pop up. Let's tackle some of the most common ones we hear from painting contractors trying to nail down their numbers.
How Much Should I Charge Per Square Foot for Painting?
It's tempting to lean on a simple square-foot price, but honestly, it's a dangerous shortcut. That number gets thrown all over the place by factors like the wall's condition, how many coats you'll need, the trim and door situation, and what your local market will even bear.
Think of it as a ballpark figure to get you started, not the final price you put on the proposal. The bids that actually make you money are always built from a real, detailed breakdown of materials, your crew's time, and your overhead.
What Is the Best Way to Estimate Paint and Materials?
The starting point is a simple formula: Total Square Feet / Paint Coverage Rate = Gallons Needed. But don't just guess on the coverage—always check the technical data sheet for the exact paint you're using. You'd be surprised how much it can vary from one product to the next.
Pro Tip: We always add a 10-15% buffer to our paint calculation. This covers you for porous surfaces that drink up paint or for those inevitable future touch-ups the client will ask for.
Even more critical is having a rock-solid checklist for all your sundries. Running back to the store for more tape, plastic, primer, or caulk is a total productivity killer. Get it all on the list upfront.
How Do I Handle a Client Asking for a Lower Price?
This is a classic. Your first instinct might be to just drop your price to win the job, but resist that urge. When you do that, you're not just cutting into your profit—you're telling the client your work isn't worth what you originally quoted.
Instead, turn it into a professional conversation about options. You can show flexibility while protecting your bottom line.
Here’s how you can frame it:
"We could definitely bring the cost down by using a different grade of paint. Let me show you the options."
"To meet that budget, we could adjust the scope. For example, we could focus on the walls and leave the ceilings or closets for a future project."
"If you have some flexibility on the timeline, we might be able to fit this in between other jobs, which could reduce the cost a bit."
This approach keeps the ball in their court and reinforces the value packed into your original, detailed proposal.
For all you contractors on the Central Coast, from Paso Robles down to Santa Maria, you know that a bid is only as good as the equipment you have to back it up. Contractor's Maintenance Service is your local shop for the parts, repairs, and know-how to keep your gear running strong. Get the support you need to keep your projects on track and profitable.