


What Causes Pump Cavitation and How to Prevent It
- Jan 19
- 13 min read
Pump cavitation is one of those silent killers of expensive equipment. It’s a destructive force that can grind a project to a halt, causing unexpected failures and costly delays.
At its core, the problem is surprisingly simple: tiny vapor bubbles form and collapse inside the pump. But when they collapse, they hit the internal surfaces with incredible force.
If you’ve ever heard a pump that sounds like it's chewing on rocks and gravel, you've heard cavitation at work.
The Hidden Threat Destroying Your Pumps
For painting contractors, construction crews, and facilities managers, that sound translates directly into lost time and money. This guide will break down the complex science behind cavitation into clear, understandable concepts. We'll show you how to spot the warning signs and, more importantly, how to prevent the damage before it starts.
As the trusted local experts serving San Luis Obispo, Paso Robles, Atascadero, Arroyo Grande, Grover Beach, Pismo Beach, Santa Maria, and the surrounding Central Coast areas, we’re here to help you diagnose and fix these critical issues before they turn into a catastrophic failure.
Understanding the Process of Cavitation
Cavitation isn't just a mechanical malfunction—it's a physics problem happening inside your pump. It all starts when the pressure of the liquid drops below its vapor pressure.
This pressure drop causes the liquid to "boil" even at a low temperature, forming small vapor bubbles. These bubbles then get swept into a higher-pressure zone within the pump, where they can't survive. They instantly and violently implode.
This infographic helps visualize that destructive cycle, showing how the bubbles form, get crushed, and ultimately chip away at your pump's components.
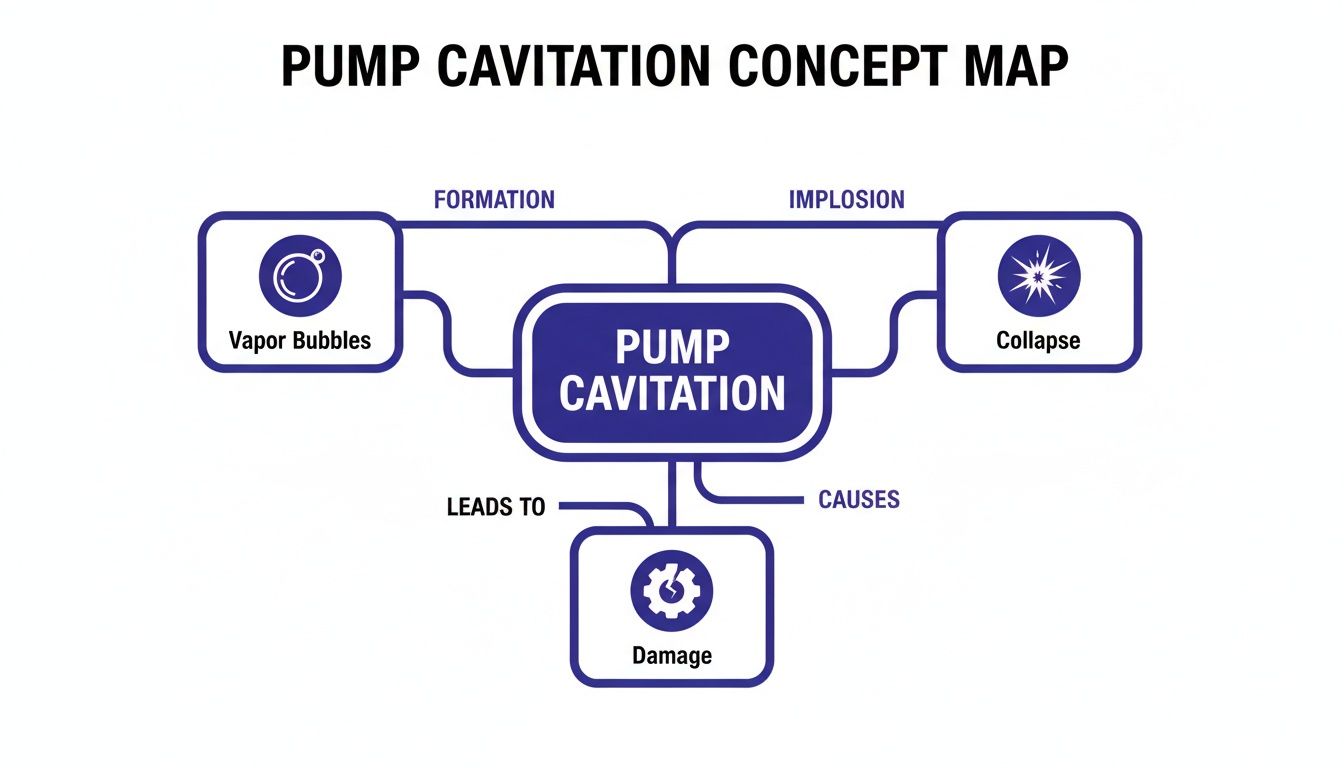
It’s a common misconception that the bubbles themselves cause the damage. The real culprit is the powerful shockwave created when they collapse.
Why Prevention Is Crucial
Ignoring the early signs of cavitation is a recipe for disaster, with problems that ripple out far beyond a single piece of equipment. Getting ahead of pump issues is always the smart move.
For instance, something as simple as proper equipment selection can prevent issues right from the start. Taking the time to learn about choosing the right submersible pump for water shows just how much the initial setup impacts long-term performance.
The consequences of unchecked cavitation include not just equipment failure, but also reduced system efficiency, increased energy consumption, and unexpected project shutdowns.
Whether you're working in Paso Robles, Atascadero, Arroyo Grande, or Santa Maria, our team at Contractor’s Maintenance Service has the expertise to protect your investment. Recognizing what causes pump cavitation is the first step toward keeping your projects running smoothly and avoiding those budget-breaking repair bills.
Understanding the Science of Pump Failure
To really get a handle on cavitation, you have to understand the physics behind what causes pump cavitation. It's not as complicated as it sounds. It all boils down to two concepts: vapor pressure and Net Positive Suction Head (NPSH). Once these click, you'll see exactly how the common operational mistakes we'll cover next can wreck your equipment.
Let’s start with vapor pressure. Think of it as a liquid's eagerness to turn into a gas. We all know heat makes water boil, but pressure is the other side of that coin. If you lower the pressure enough, a liquid can "boil" and form vapor bubbles without getting hot. It's the same reason water boils at a lower temperature on a mountaintop—the air pressure is lower. The same thing can happen inside your pump.
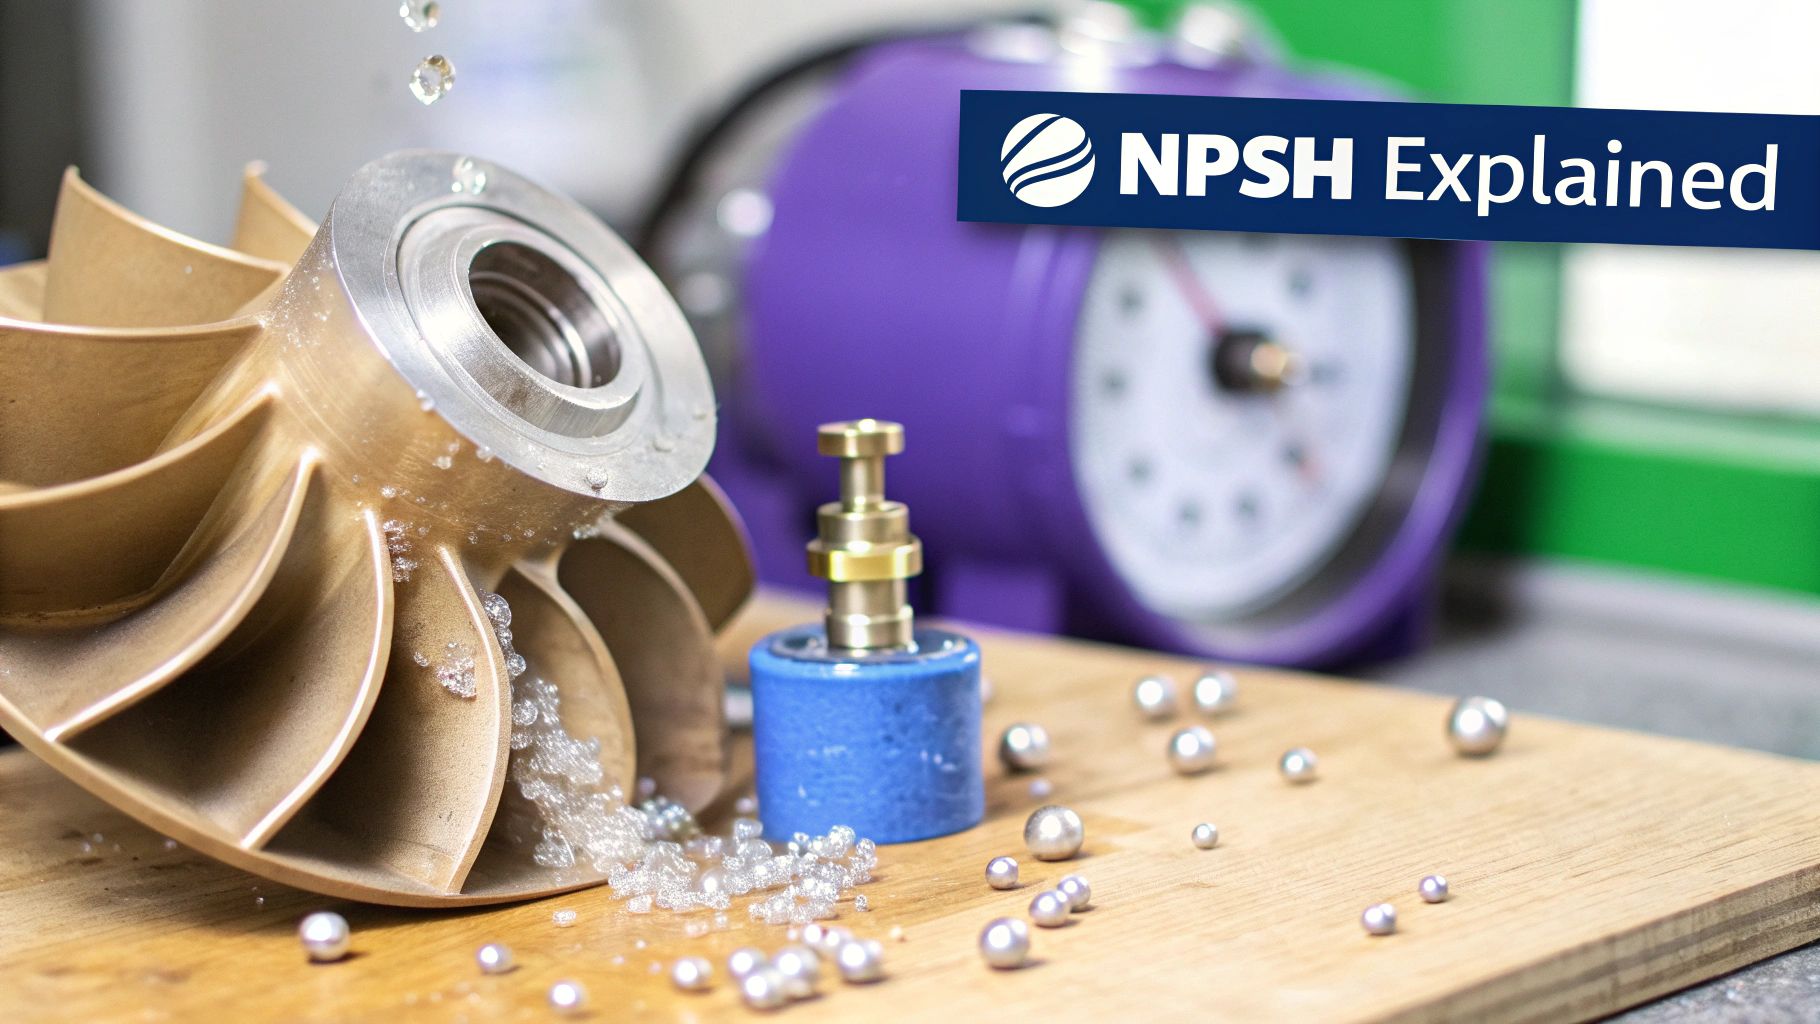
The Critical Role of NPSH
This is where NPSH enters the picture. Think of it as a simple pressure checkbook for your pump's inlet. You have two numbers that matter:
NPSH Available (NPSHa): This is the actual, absolute pressure you have at the pump’s suction port. Things like how high the pump is above the water source or friction from the hose affect this number.
NPSH Required (NPSHr): This is the minimum pressure the pump needs at the inlet to do its job without the liquid flashing into vapor. This value is baked into the pump's design by the manufacturer.
Cavitation kicks in the moment the pressure you have (NPSHa) dips below the pressure the pump needs (NPSHr). It's that simple. When the liquid is starved for pressure, it starts forming those destructive vapor bubbles.
The golden rule is straightforward: NPSH Available must always be greater than NPSH Required. When that balance gets thrown off, you’re basically creating the perfect storm for cavitation, leading to that tell-tale grinding noise, vibration, and eventual failure.
For our clients in San Luis Obispo and nearby areas like Paso Robles, Atascadero, Pismo Beach, and Grover Beach, this isn't just theory. Local factors like elevation and the warm Central Coast climate can mess with vapor pressure and reduce the available suction head, making a proper system setup absolutely critical.
Why This Balance Matters for Your Equipment
Every single detail of your setup—from the length and diameter of the suction hose to the temperature of the fluid—directly impacts your NPSHa. A clogged strainer, a hose that's too long, or setting the pump too far above your water tank are all common culprits that slash the available pressure.
If the NPSHa drops far enough to meet the pump’s minimum demand (NPSHr), you've rolled out the red carpet for cavitation. By understanding how your choices on the job site affect this delicate pressure balance, you can stop the damage before it starts. This knowledge is key to protecting your investment and preventing costly downtime on projects from Arroyo Grande to Santa Maria.
Common Suction Side Mistakes That Trigger Cavitation
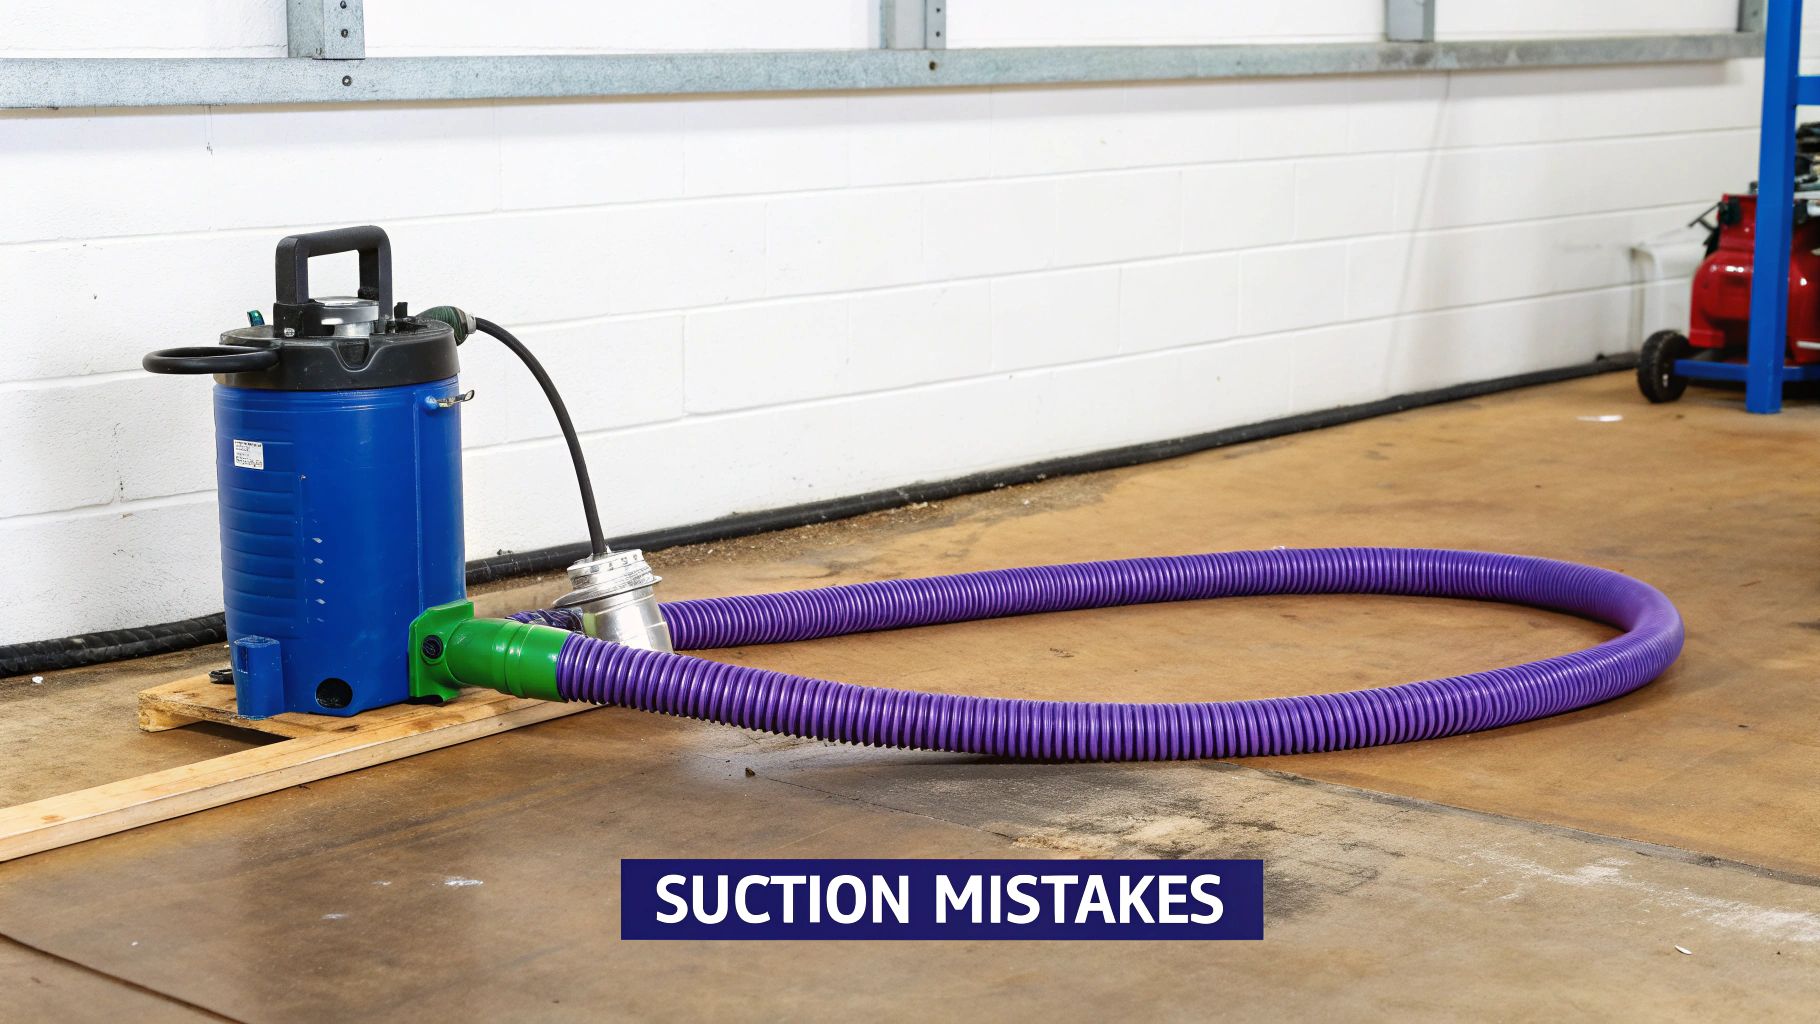
Most cavitation headaches don't start inside the pump. They start on the suction side, where seemingly small setup mistakes can have massive, destructive consequences. These errors create the exact low-pressure conditions that lead to cavitation, effectively starving the pump of the fluid it needs.
When a pump is starved, it has to work much harder just to pull fluid in, causing the NPSHa to plummet. The result is a pressure drop so severe that those destructive little vapor bubbles can form. For contractors and service shops in San Luis Obispo County and the surrounding areas, spotting these common flaws is the first line of defense against catastrophic equipment failure.
Excessive Suction Lift
One of the most common mistakes we see is excessive suction lift. In simple terms, this means placing the pump too high above the liquid source.
Think of your pump like a person trying to drink through an incredibly long straw. The higher you lift the straw, the harder you have to suck. Your pump is doing the same thing. The higher it is, the more it has to fight against gravity, creating a major pressure drop right at the inlet. A Multiquip dewatering pump sitting 20 feet above the water is far more likely to cavitate than one placed just 5 feet away.
Improper Hose and Pipe Sizing
The hose or pipe you use for your suction line is just as important. A hose that's too long, too skinny, or full of sharp bends adds a ton of friction and resistance. This chokes the flow and kills the available pressure before it even gets to the pump.
It’s no surprise that industry reports show up to 70% of cavitation incidents trace back to suction-side problems, with bad piping being a prime offender. Even a suction pipe that's just one inch too small can force the fluid to speed up dramatically, causing the pressure to nosedive and vapor bubbles to pop up at the impeller's eye.
This is why getting the setup right from the start is so critical. The wrong diameter hose can bring a top-of-the-line Graco sprayer to its knees. To make sure your rig is optimized, check out our guide on choosing the right 1-inch hose.
The rule of thumb for suction lines is simple: keep them as short, straight, and wide as possible. Every foot of hose and every elbow adds friction loss, eating away at your NPSHa and pushing your pump closer to the cavitation danger zone.
Clogged Inlets and Strainers
Finally, don't forget the simplest component in the entire setup: the inlet. A clogged foot valve, strainer, or filter screen acts like a bottleneck, strangling the fluid supply.
As leaves, sludge, or other debris pile up, the pump has to work exponentially harder to pull fluid through the blockage. This creates a powerful vacuum right at the pump's inlet, causing an immediate and severe pressure drop. Regularly cleaning all your suction-side filters is one of the easiest and most effective ways to prevent cavitation and protect your gear, whether you're on a job in Paso Robles, Atascadero, or Arroyo Grande.
How Discharge Blockages and High Temps Can Wreck Your Pump
While most people focus on the suction side, you can't ignore what's happening at the other end of the pump. Discharge issues and high temperatures are just as destructive, and understanding them is non-negotiable for anyone running equipment professionally.
We see this all the time with clients across San Luis Obispo County. Whether it's a sprayer running all day under the Paso Robles sun or a setup near the cooler coast in Arroyo Grande, Pismo Beach, or Grover Beach, these problems can pop up anywhere.
Discharge cavitation is a different beast. It’s not about starving the pump for fluid; it’s about trapping it. When something blocks the outlet, the pressure inside the pump casing skyrockets. The fluid has nowhere to go, so it recirculates back toward the impeller at high speed. This chaos creates pockets of intense turbulence and low pressure, allowing those destructive vapor bubbles to form and collapse.
Common Discharge Blockages
Most of the time, the culprits are hiding in plain sight. A quick check of these components can save you a world of hurt down the road.
Clogged Discharge Filters: Filters are supposed to catch debris, but once they're full, they choke off the flow and spike the back pressure.
Partially Closed Valves: It sounds simple, but a valve that isn't fully open is a permanent bottleneck, forcing the pump to fight against itself constantly.
Wrong Nozzle Size: Slapping a spray nozzle that's too small for your pump's GPM is like pinching a garden hose. You're creating an artificial blockage right at the exit.
Any one of these issues puts immense strain on the pump, triggering cavitation that eats away at the internals. It's a frequent diagnosis we make for customers in Atascadero and Santa Maria who rely on high-pressure sprayers.
The Hidden Danger of High Temperatures
Physical clogs are one thing, but heat is the silent killer. When your fluid gets too warm, it's already halfway to boiling. Its vapor pressure climbs, meaning it needs just a tiny pressure drop to flash into vapor. This is a huge risk for anyone working in the Central Coast sun or pumping heated fluids.
The numbers don't lie. Water's vapor pressure leaps from 0.95 PSI at 70°F to 3.7 PSI at 140°F. That jump can slash your available suction head (NPSHa) by 50% or more, pushing a perfectly good pump into cavitation. In fact, pump studies show that temperature-related problems are behind 20% of all failures in industrial settings. You can discover more about how temperature impacts pump systems and their overall performance.
This temperature sensitivity means a pump setup that works perfectly in the cool morning air might start screaming by mid-afternoon as the sun bakes your tanks and hoses. Keeping your fluid cool isn't just a suggestion—it's essential maintenance.
To help you diagnose issues in the field, here’s a quick-reference table that connects common causes to the symptoms you might be seeing or hearing.
Common Causes of Pump Cavitation and Their Symptoms
Cause of Cavitation | Primary Symptom | Affected Equipment Example |
|---|---|---|
Clogged Discharge Filter | Pressure drops, pump sounds strained | A paint sprayer losing its spray pattern consistency. |
Incorrect Nozzle Sizing | Pump makes a loud, grinding noise | A pressure washer that starts vibrating heavily with a new nozzle. |
High Fluid Temperature | Cavitation worsens as the day gets hotter | A transfer pump that works fine in the morning but starts to fail in the afternoon. |
Paying attention to these signs can help you catch a problem before it leads to a catastrophic failure. Remember, the pump is often just telling you what's wrong elsewhere in the system.
One of the best ways to protect your gear from heat is with a thermal relief valve. It's a small part that does a big job. To learn more, check out our guide to your thermal relief valve for pressure washers and see how it prevents temperature-induced damage.
Diagnosing Cavitation: What to Look and Listen For
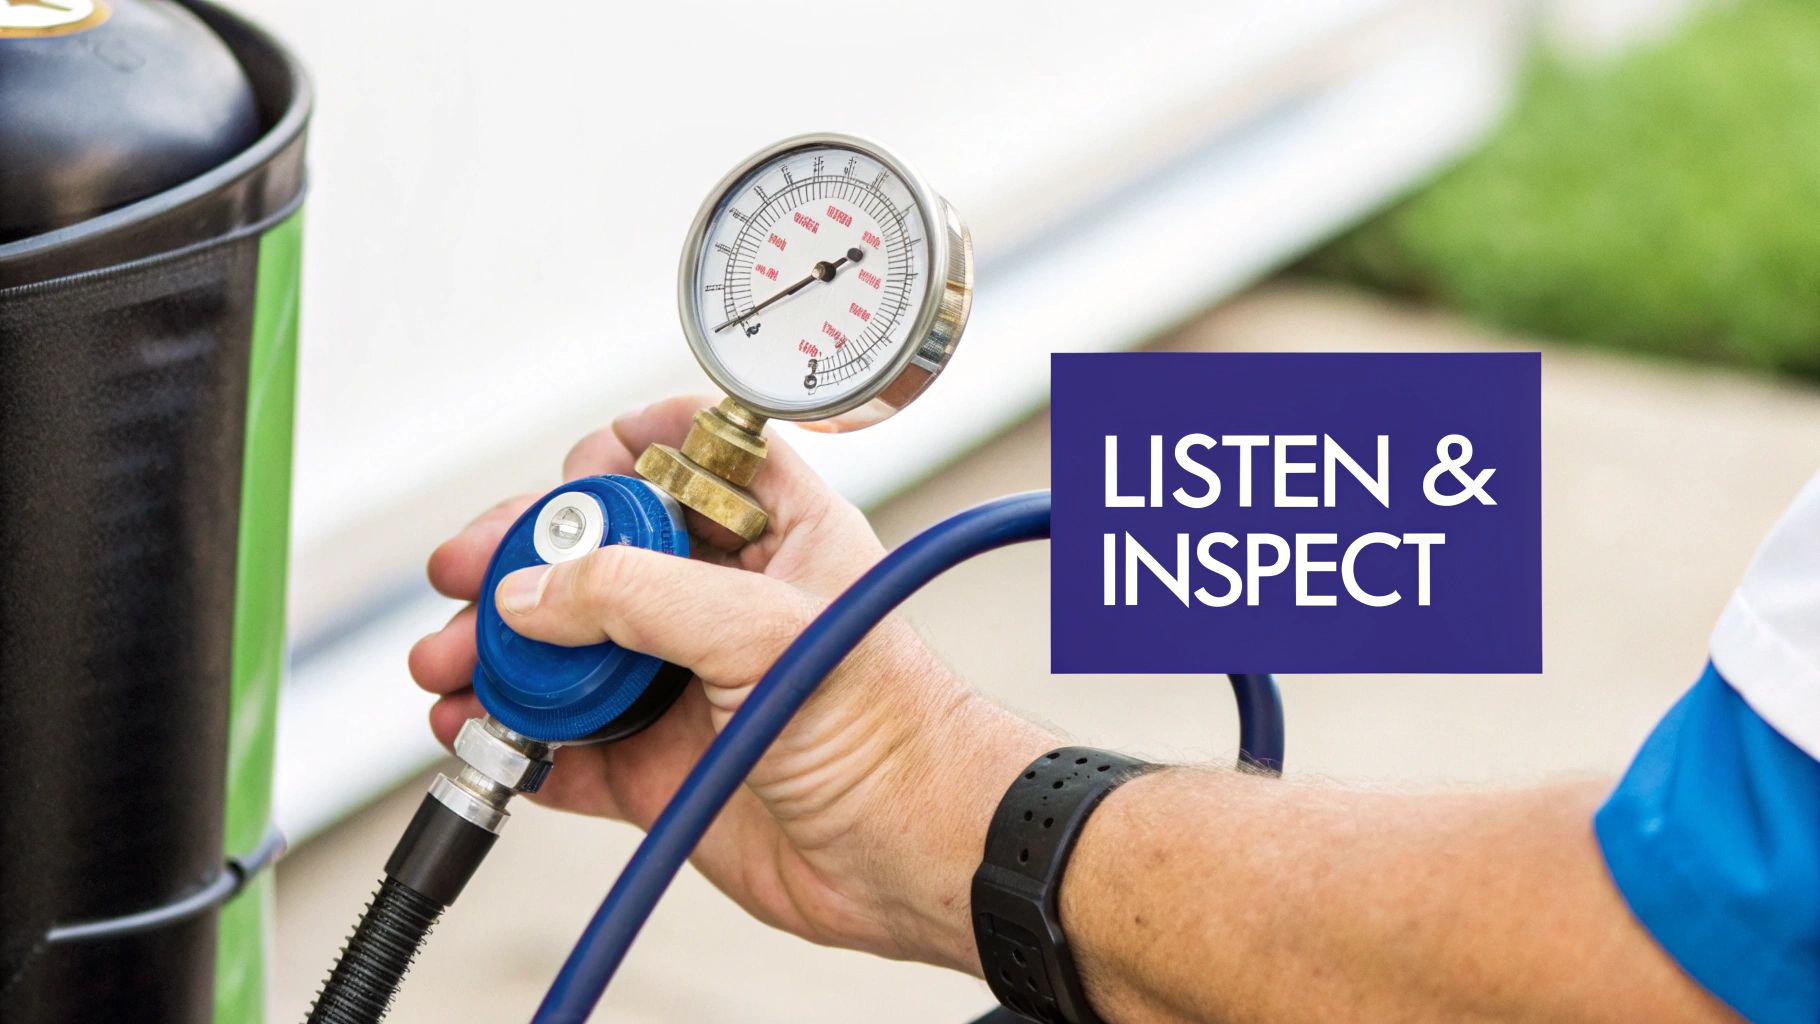
Catching cavitation early is the only way to head off catastrophic damage. The good news? A cavitating pump almost never suffers in silence. It gives you clear warning signs you can see, feel, and—most importantly—hear.
Your first clue is almost always the sound. It’s an unmistakable, aggressive noise that sounds like your pump is trying to chew on a handful of marbles or gravel. This isn't just a sign of trouble; it's the literal sound of thousands of vapor bubbles violently collapsing. If you hear it, stop what you're doing. It’s a sound you should never ignore.
Beyond the noise, keep a close watch on your equipment's performance. Fluctuating readings on your pressure and flow gauges are a huge red flag. They tell you the pump is fighting to maintain a steady output. You'll often see this translate into a noticeable drop in performance—maybe an inconsistent spray from a pressure washer or a weak flow from a dewatering pump.
Field Inspection Checklist
If you suspect cavitation, it's time for a hands-on inspection. This is where you move from listening to looking for physical proof. For contractors and service pros in San Luis Obispo, Paso Robles, Atascadero, and the Five Cities area, running through a quick diagnostic checklist can save you a fortune in future repairs.
Look for Vibration: Put your hand on the pump casing. Is there an excessive vibration that wasn't there before? Those tiny implosions send shockwaves through the entire unit, and you can often feel it.
Check for Leaks: Inspect all the seals and fittings around the pump. While not a direct cause, the intense vibration from cavitation can easily compromise seals and spring new leaks.
Inspect for Physical Damage: If you have the chance to open the pump and check internal parts like the impeller or casing, look for pitting and erosion. The metal surface might look like it's been eaten away, sometimes getting a distinct "Swiss cheese" texture.
Discharge Cavitation: A Sneaky Killer
While most cavitation issues trace back to the suction side, don't forget to check what's happening at the outlet. Discharge cavitation is a sneakier problem that strikes when the pump's outlet pressure is too high.
This high back-pressure restricts fluid flow, forcing it to recirculate inside the pump. This creates localized low-pressure zones between the impeller and the casing, and—you guessed it—forms damaging vapor bubbles. We see this all the time in systems like Wagner and Titan pressure washers where discharge valves are throttled down too far or filters get clogged.
Industry data shows this accounts for a staggering 30% of cavitation failures in positive displacement pumps. It's a silent killer that's often missed until the damage is done. You can read more about how discharge restrictions cause pump failure on ipe-pumps.com.
Knowing these signs empowers you to be your own first-level troubleshooter. By combining what you hear with what you see and feel, you can confidently figure out if you're dealing with a simple maintenance fix or if it's time to bring your equipment to a professional service center. If you're still struggling to pin down the problem, our guide on pressure washer pump troubleshooting can give you some extra pointers.
Your Local Expert for Pump Repair in San Luis Obispo
When a pump starts acting up on the job, especially with something as destructive as cavitation, you need answers fast. Guesswork and quick fixes just don’t cut it—they usually end up costing you more time and money when the real problem comes roaring back. That’s why contractors and professionals all over the Central Coast trust Contractor's Maintenance Service to get it right the first time.
We’re right here in San Luis Obispo, serving our neighbors in Paso Robles, Atascadero, Arroyo Grande, Grover Beach, Pismo Beach, Santa Maria, and other local communities. We’ve spent years working on the equipment you use every day, including top brands like Graco, Wagner/Titan, and Multiquip. That hands-on experience means we can diagnose cavitation and other tricky issues with confidence, getting to the root cause without wasting your time.
Our Comprehensive Pump Services
Our whole mission is to get your equipment back online and keep it there. Whether it’s a simple tune-up or a major warranty repair, we’re here to protect your investment and slash your downtime.
Expert Diagnostics: We don’t just look at the surface. We dig in to find the real source of the failure, whether it's a suction problem, a discharge restriction, or something else entirely.
Preventive Maintenance: The best repair is the one you never have to make. We’ll help you set up a smart maintenance plan to stop cavitation before it starts, saving you a fortune in the long run.
OEM Parts and Repairs: We keep a solid inventory of genuine parts on hand. From replacing a worn-out seal to a complete overhaul, we have the parts and the know-how to do the job properly.
Custom Hydraulic Hoses: Need a specific hose or a hard-to-find fitting? We can build custom hydraulic hoses right here in our shop to make sure your system runs exactly as it should.
When you're facing serious equipment problems, you need a pro you can count on. It's a lot like trying to find a good tradesperson for your home; knowing how to choose the right plumber or technician makes all the difference in getting expert repair and prevention.
Don’t let pump cavitation grind your projects to a halt. Whether you need a quick inspection, an emergency repair, or just the right part to get back up and running, our team is here to help. Give us a call today and get the peace of mind that comes with true professional service.
A Few Common Questions About Pump Cavitation
When you’re out on a job, you don’t have time for guesswork. Understanding what causes pump cavitation can be tricky, so here are some quick, clear answers to the questions we hear most often from contractors and service pros in the San Luis Obispo area.
Can a Cavitation-Damaged Pump Be Repaired?
It really depends on how bad the damage is. If you've just got some minor pitting on an impeller, you might be able to get away with a repair. But once you're dealing with severe erosion, you’re almost always looking at replacing key components.
Running a damaged pump is just asking for trouble—you'll see terrible performance, burn through more energy, and eventually face a complete breakdown. The best move is to get a professional inspection. We can tell you if a repair makes sense financially or if a full replacement is the smarter long-term investment.
How Often Should I Check for Cavitation?
For equipment you rely on daily, a quick check at startup is a great habit to get into. Just listen for that distinct rattling sound, like gravel or marbles bouncing around inside. Keep an eye on your pressure gauge, too—if it's jumping around, that's a red flag.
As part of your weekly maintenance routine, you should be doing a more detailed inspection of all your filters, strainers, and hoses.
Conditions on the job can change in a heartbeat. Always be extra vigilant if you switch to a thicker material, use a longer suction hose, or are just working through the afternoon heat in Paso Robles or Santa Maria. These shifts can create new cavitation risks that weren't there in the morning.
Is Cavitation the Same Thing as Aeration?
Nope, but they can look and sound an awful lot alike, which is why they get confused. Both can cause noise and vibration, but their root causes are totally different.
Cavitation is when the liquid you're pumping turns into vapor bubbles because the pressure drops too low. Aeration, on the other hand, is when outside air gets sucked into the pump. This usually happens because of a leak in a suction hose, a loose fitting, or a failing seal.
Because the causes are different, the solutions are too. Getting a professional diagnosis is the fastest way to tell them apart and apply the right fix. You don't want to waste time solving the wrong problem, especially when you're trying to stay on schedule on a job in Atascadero, Arroyo Grande, or Santa Maria.
When you need expert diagnostics and reliable repairs for your industrial equipment, trust the team at Contractor's Maintenance Service. We proudly serve San Luis Obispo, Paso Robles, Atascadero, Santa Maria, and the surrounding Central Coast communities. We have the parts and the know-how to get you back up and running fast. Learn more at contractorsmaintenanceservice.com.


Comments