Mastering painting car with airless sprayer for a showroom finish
- Jan 9
- 16 min read
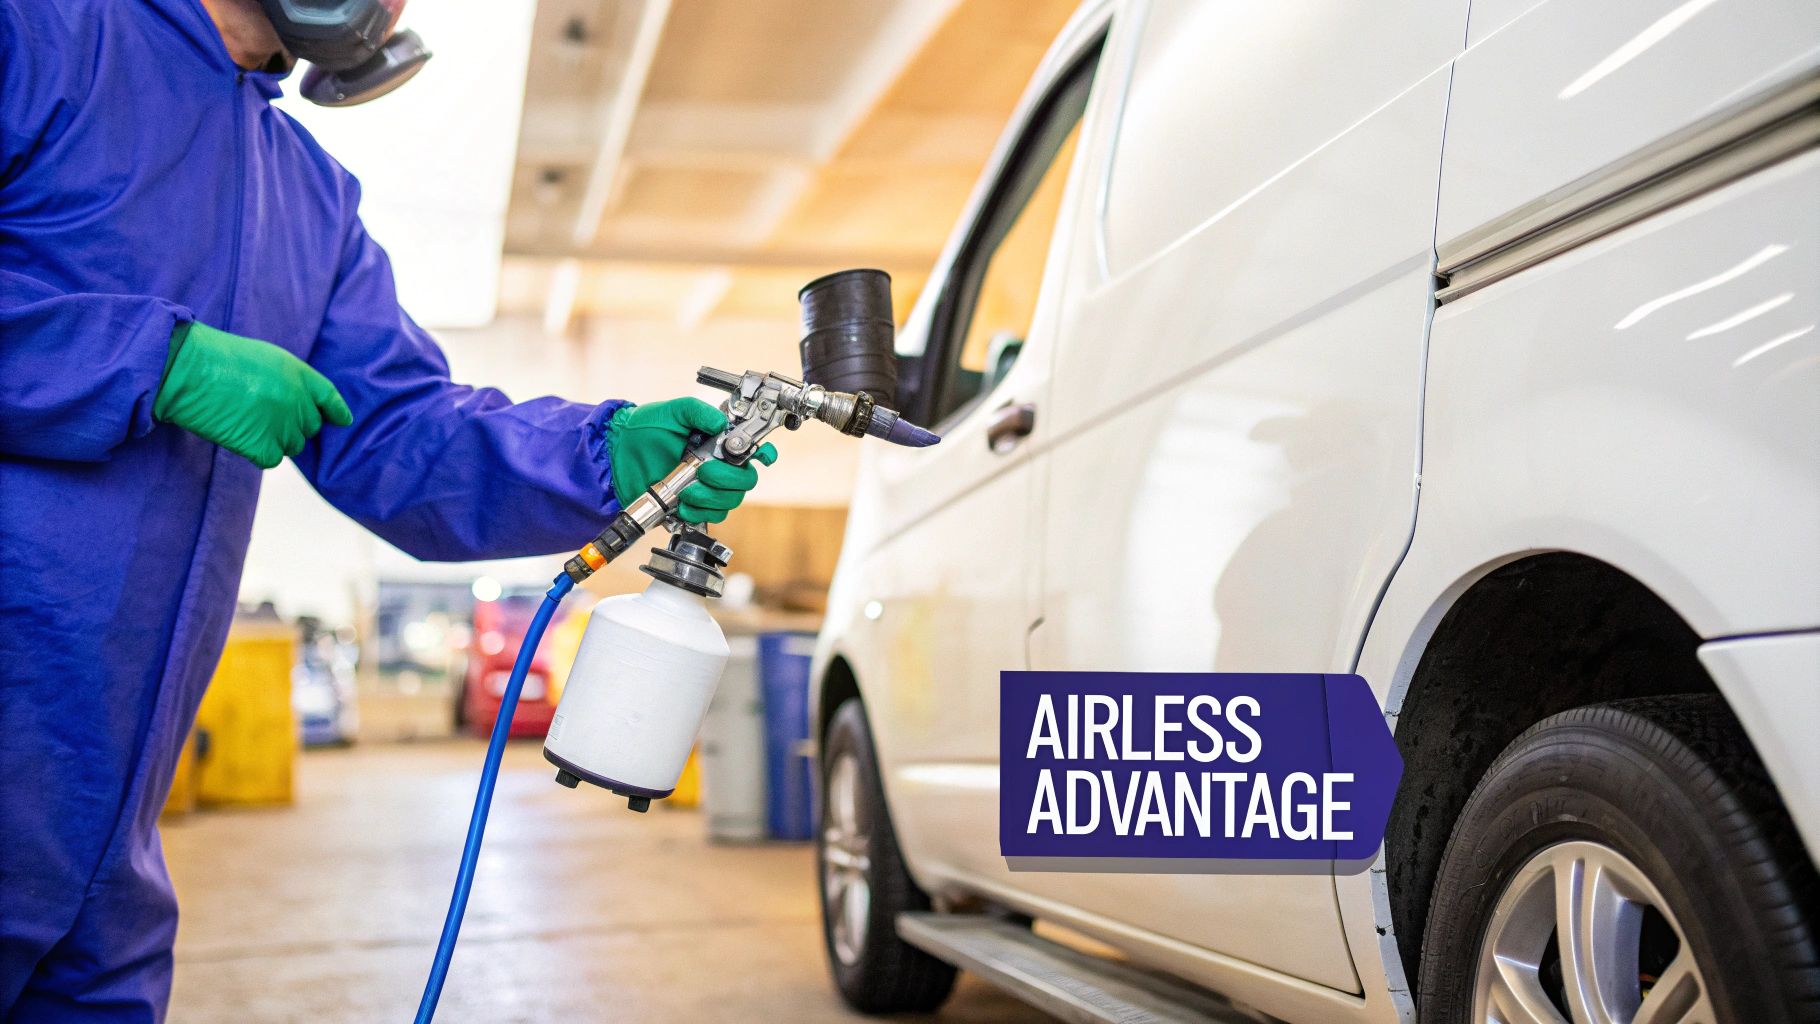
Of course you can. Painting a car with an airless sprayer is not only possible, but for certain jobs, it’s the smartest way to go. If you've got the right setup and a solid technique, an airless rig is brilliant for laying down thick coatings quickly. It’s a go-to method for full resprays on trucks, vans, and other big commercial vehicles where getting the job done fast and right is what matters most.
Why an Airless Sprayer Is Your Secret Weapon
Let's cut through the noise. A lot of old-school auto body guys will tell you it's HVLP or nothing. But for commercial painters and busy service shops, an airless sprayer is a total game-changer, especially when you're tackling big projects like fleet vehicles or a full-body repaint.
The myth that airless systems are too aggressive for automotive work just doesn't hold up anymore. That’s outdated thinking. With modern airless technology—paired with the right fine-finish tips and pressure settings—you can atomize paint beautifully. They really hit their stride when you're working with today's thicker, high-solids primers and tough single-stage topcoats.
The Airless Advantage for Automotive Coatings
So, what’s the big deal? Speed and transfer efficiency. An airless sprayer forces paint through a tiny orifice at high pressure, which lets you build an incredible film in a single pass. That means fewer coats, less time in the booth, and way less overspray than you’d get with conventional guns.
This efficiency is a huge reason why the professional coatings industry is leaning more on airless technology. The global paint sprayer market hit around $1.31 billion in 2022 and is on track to top $1.75 billion by 2028. Airless systems are a major driver of that growth, especially where performance is everything. You can dig into these market trends and findings to see where the industry is heading.
For any professional shop on California's Central Coast—whether you're in Paso Robles, Atascadero, or down through San Luis Obispo to Arroyo Grande and Pismo Beach—this is how you boost productivity without cutting corners on quality.
Key Takeaway: An airless sprayer’s ability to handle high-viscosity paints and deliver a thick, even coat with minimal overspray makes it an invaluable tool for painting commercial vans, work trucks, and industrial equipment.
When Airless Wins the Race
Think about the workflow for painting a commercial van. With an airless sprayer, you can lay down a heavy-bodied epoxy primer and a durable, single-stage urethane topcoat in a fraction of the time it would take with an HVLP gun. This isn't just about saving a few hours of labor; it's about pushing more jobs through your shop.
For local businesses in the San Luis Obispo area, having a reliable partner makes all the difference. At Contractor's Maintenance Service, we proudly serve the entire Central Coast, including San Luis Obispo, Paso Robles, Atascadero, Arroyo Grande, Pismo Beach, Morro Bay, Templeton, and Nipomo. We provide the expert advice and top-tier Graco and Titan equipment needed to make this process seamless. We know the demands of commercial coating work and can help you select the perfect sprayer, hose, and tip combination for any automotive painting challenge.
Airless vs HVLP Sprayers for Automotive Projects
Choosing between an airless and an HVLP system really comes down to the job at hand. Both are excellent tools, but they shine in different areas. Here’s a quick breakdown to help you decide which one fits your project best.
Feature | Airless Sprayer | HVLP Sprayer |
|---|---|---|
Speed | Excellent. High fluid delivery for large surfaces. | Moderate. Slower application, better for smaller areas. |
Coating Thickness | Thick. Ideal for high-solids primers and industrial coatings. | Thin. Excellent control for delicate base and clear coats. |
Transfer Efficiency | Good to Excellent. Less overspray than conventional guns. | Excellent. Minimal overspray, ideal for saving material. |
Finish Quality | Good. Requires fine-finish tips and technique for smoothness. | Excellent. Known for achieving a "factory" or show-car finish. |
Best For | Commercial vehicles, fleet work, heavy equipment, primers. | Custom auto body, detail work, basecoat/clearcoat systems. |
Learning Curve | Moderate. High pressure requires practice to avoid runs. | Steeper. Requires careful adjustment of air and fluid flow. |
Ultimately, while HVLP guns are the undisputed champs for intricate, multi-layer show-car finishes, an airless sprayer is a powerful and efficient tool for getting durable, high-quality coatings on commercial and industrial vehicles. For many shops, having both systems is the ideal solution.
Prepping Your Vehicle for a Flawless Paint Job
Ask any painter who’s been in the business for more than a week, and they’ll tell you the same thing: a great paint job is decided long before you ever pull the trigger on a sprayer. The truth is, your finish is 90% preparation and only 10% application. It’s that painstaking, often messy, upfront work that makes the difference between a glass-smooth finish that lasts and a job that’s peeling in a year.
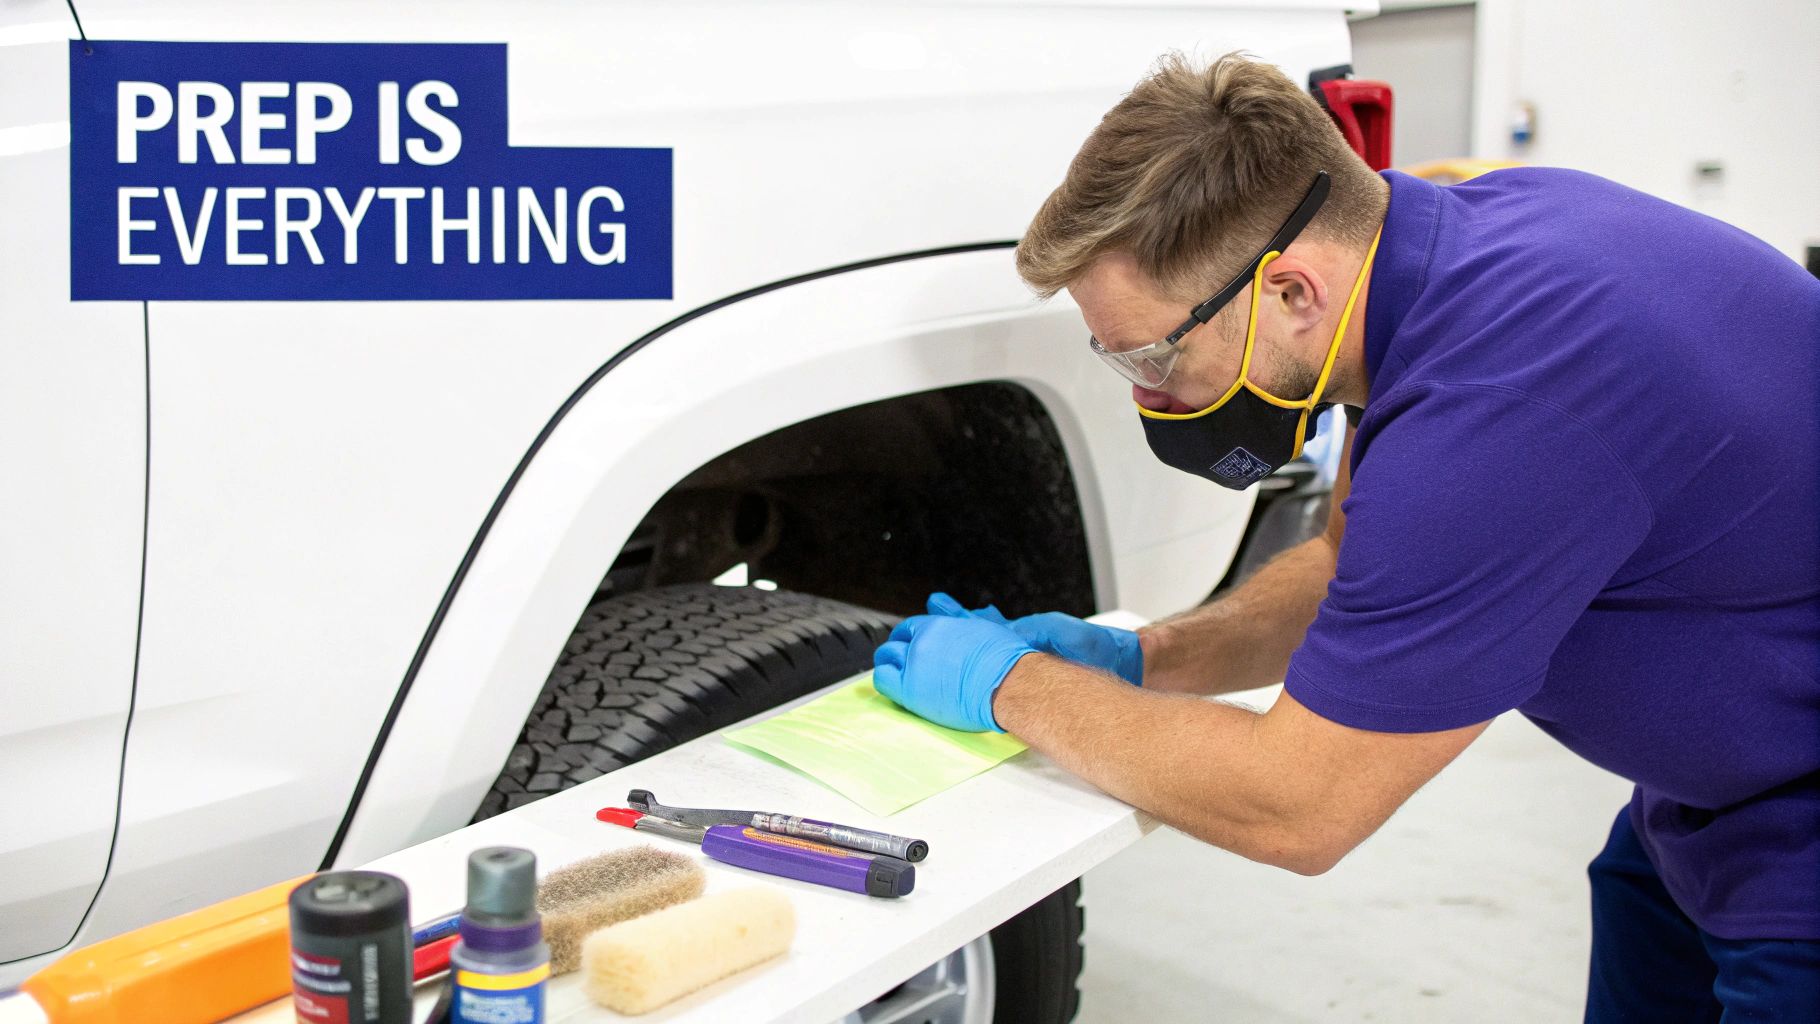
It’s all about creating the perfect canvas for your paint to grab onto for good. This isn't just mindless sanding; it’s about making smart decisions based on what the vehicle needs.
Stripping and Sanding The Right Way
Before primer is even a thought, you have to deal with what’s already there. The first call you’ll make is whether to strip the old paint completely or just scuff it up for adhesion. If you're looking at a vehicle with peeling clear coat, deep scratches, or layers of old paint jobs, stripping it down to bare metal isn't optional—it's mandatory.
You’ve got two main routes here: chemical strippers or good old-fashioned sanding.
Chemical Strippers: These are beasts for taking off multiple layers of paint in a hurry, but they demand respect. Use them with extreme caution and plenty of ventilation. They are a lifesaver for complex shapes where a sander can’t get a good bite.
Mechanical Sanding: Firing up a dual-action (DA) sander is the go-to for most pros. It gives you incredible control and makes quick work of large, flat panels like hoods and doors.
The secret to a perfect foundation is stepping down your grits methodically. If you start with too aggressive of a grit, you’ll spend the next two hours sanding out your own scratches. But if you’re too gentle, you won’t create enough “tooth” for the primer to grip.
Pro Tip: Never jump more than 100 grits at a time when you're sanding. A solid progression for taking a panel to bare metal is 80-grit to tear through the old paint, followed by 180-grit to smooth things out, and finally 320-grit to prep it for an epoxy primer.
Feather-Edging for Invisible Repairs
Picture this common shop scenario: you just finished a dent repair on the fender of a work truck. You’ve shaped the body filler, and now you have a patch of filler surrounded by the original factory paint. That transition has to be absolutely invisible.
This is where feather-edging becomes your most important skill. The idea is to create a seamless, tapered edge from the filler, across the primer, and into the original paint layers. You get there by using progressively finer grits of sandpaper, always working your way outward from the center of the repair. If you rush this, you’ll end up with a visible ring or "halo" under your fresh paint—the hallmark of an amateur job.
Advanced Masking Techniques
Masking is so much more than slapping tape on the windows. It’s an art form. It’s about protecting every last bit of chrome, rubber, and glass while creating razor-sharp lines. When you’re dealing with door handles, emblems, or complex trim, your standard-issue masking tape just won’t cut it.
Here are a few pro moves for a cleaner job:
Fine Line Tape: This is your best friend for two-tone jobs or crisp graphic lines. It's flexible enough to follow tight curves perfectly without lifting.
Back-Taping: To avoid a hard paint edge on a panel you're blending, fold a piece of masking tape back on itself. This creates a soft, lifted edge that lets overspray diffuse gently for an invisible transition.
Foam Masking Tape: A must-have for door jambs, hoods, and trunks. It seals the gap completely, stopping overspray from drifting into the vehicle while leaving a soft, undefined edge that needs zero sanding later.
Ultimately, a pristine surface is the bedrock of any professional finish. It starts with the basics, but exploring advanced car detailing techniques can show you how to get that truly flawless foundation needed for a showroom-quality job.
Of course, all this prep work leads to choosing the right materials. The type of paint you select has a huge impact on how it will lay down on the surface you've worked so hard to perfect. For a deeper dive, check out our guide on https://www.contractorsmaintenanceservice.com/post/a-contractor-s-guide-to-airless-paint-sprayer-paint to make sure your paint is compatible with your project. Trust me, taking the time to nail these prep stages is what guarantees your work will look incredible.
Dialing In Your Airless Sprayer for Automotive Paint
Think of your airless sprayer less like a brute-force paint blaster and more like a precision instrument. An engine needs a master mechanic to tune it perfectly, and your sprayer is no different—it needs to be dialed in for the unique demands of automotive coatings. Skipping this step is a non-starter. Getting it right is your best defense against common paint flaws and the secret to that glass-smooth finish everyone's after.
It all begins with your pump. If you’re in a busy shop environment, you need a workhorse, something from a trusted name like Graco or Titan. Those units are built to take a beating day in and day out, and they can handle the pressures needed for perfect atomization. But the motor is only half the story; the real finesse comes from the details of your setup.
Your Secret Weapon: The Fine Finish Tip
First things first, forget about the standard tips you use for painting a house. For the thin, slick layers required in automotive work, a Fine Finish Low Pressure (FFLP) tip isn't just a suggestion—it's essential. These tips are engineered with a special pre-orifice that atomizes the paint twice, giving you a much softer, more controlled spray pattern with incredibly fine droplets.
What does that mean for you? A finish that can go toe-to-toe with an HVLP gun, but with the raw speed and efficiency of an airless system. This is especially true for modern basecoats and clearcoats, which are much thinner than old-school industrial enamels.
Picking the right tip size is everything. You'll see tip sizes as a three-digit number, like "310." Here's how to decode it:
The first digit (3) gets multiplied by two, giving you the fan width in inches. So, a '3' gives you a 6-inch fan, which is ideal for controlled, overlapping passes on a door or fender.
The last two digits (10) tell you the orifice size in thousandths of an inch (.010"). A smaller orifice is crucial for properly atomizing thinner automotive materials.
For most automotive basecoats and clearcoats, a 310 or 410 FFLP tip is a fantastic place to start. But always, always check the technical data sheet for your specific paint. For a deeper dive into this critical choice, check out our guide on choosing the right tip size for airless sprayer finishes.
Setting Pressure and Viscosity Like a Pro
With the right tip in hand, it's time to set your pressure. The rookie mistake is to crank the pressure to the max, assuming more power is better. For automotive work, that's a recipe for disaster. You'll end up with a cloud of overspray and a rough, pebbly finish.
Instead, start low and dial it up. Set your sprayer to its lowest pressure setting and do a quick test spray on some cardboard or a scrap panel. You'll probably see "tails" or "fingers" at the top and bottom of your spray pattern. Now, slowly increase the pressure just enough for those tails to disappear, leaving you with a full, even fan. That's your sweet spot—the lowest possible pressure needed for a perfect pattern.
Finding that minimum effective pressure is a game-changer. It drastically cuts down on overspray, saves paint, and gives you way more control—all things you absolutely need when painting a car with an airless sprayer.
The last piece of the puzzle is paint viscosity. Most automotive basecoats and clearcoats will need to be thinned or reduced to spray properly through an airless system. Your paint manufacturer's data sheet is your bible here; follow its recommended thinning ratio to the letter.
Use a viscosity cup to get it right. You're looking for a smooth, consistent stream. Before you lay a drop of paint on the actual car, do a full test spray on a scrap panel. This is your chance to check the pattern, flow, and atomization to make sure everything is perfect before you commit.
This careful setup process is what separates the pros from the amateurs. For our local professional partners in San Luis Obispo and the surrounding areas like Paso Robles, Arroyo Grande, and Atascadero, we at Contractor's Maintenance Service understand that reliable equipment is the backbone of your business. The strong presence of brands like Graco and Wagner/Titan in North America ensures that parts, tips, and expert service are always readily available. This robust ecosystem is a major advantage for any U.S.-based shop. This commitment to quality and readiness is how you deliver flawless results, time and time again.
Mastering Your Spraying Technique on Vehicle Panels
All that careful prep work comes down to this moment. This is where precision and a steady hand turn a decent paint job into a flawless, mirror-like finish. When you're painting a car with an airless sprayer, your technique is everything.
The core mechanics are straightforward but absolutely critical. Your arm and the sprayer need to move as one unit, always parallel to the panel. Don't spray from the wrist—that's a rookie mistake. Lock it straight and use your whole arm to guide the gun in a smooth, fluid pass.
The Three Pillars of a Perfect Pass
Getting your technique dialed in means mastering three things: distance, overlap, and speed. If you get one wrong, the finish will show it. But nail all three, and you’ll lay down paint like you've been doing it for decades.
Distance is Key: Keep the spray tip a consistent 10-12 inches from the panel. If you get too close, the paint will load up and run. If you're too far back, the paint particles start to dry before they even hit the surface, leaving you with a rough, sandy texture called dry spray.
The 50% Overlap Rule: To avoid ugly stripes or "banding" in the finish, every pass has to overlap the one before it by exactly 50%. A good way to visualize this is to aim the center of your spray pattern directly at the bottom edge of the previous pass. This simple discipline is the secret to a uniform film build.
Consistent Motion: Find a steady, deliberate pace and stick with it. Moving too fast gives you a thin, almost transparent coat. But going too slow is the fastest way to get runs and sags, especially on vertical surfaces like doors and fenders.
Executing the Spray Pass Like a Pro
A professional spray pass never starts or stops directly on the panel. To avoid a heavy buildup of paint at the start and end of each stroke, you need to trigger the gun just before you reach the edge of the panel and release it just after you've passed the other side. This ensures the fan is fully formed and the paint is flowing evenly the whole time it's hitting the car.
Picture spraying the long, flat side of a cargo van. You'd start at the top, sweeping your arm across the entire length, then drop down for the next pass, overlapping the first by 50%. The whole motion should be rhythmic and controlled.
Now, think about a curved fender on a sports car. You can't just move in a straight line here. Your arm has to follow the exact contour of the panel, maintaining that perfect 10-12 inch distance even as the surface curves. This takes more body movement and a bit of practice, but it's the only way to get an even coat on complex shapes.
Pro Tip: When spraying a whole vehicle, always work from the top down. Hit the roof first, then the hood and trunk, and finish with the vertical panels (doors, fenders, etc.). This sequence keeps overspray from settling on your freshly painted lower sections.
Serving the Central Coast with Expert Knowledge
For shops and contractors here on the Central Coast, from Paso Robles and Templeton down to Arroyo Grande and Nipomo, mastering this technique is what separates the pros from the amateurs. Our area has it all—from heavy-duty farm equipment in Atascadero to high-end custom cars in Pismo Beach—and they all demand a top-quality finish. A well-honed spray technique ensures that whether you’re painting a work truck or a show car, the result is always durable and professional. That commitment to quality is how you build a rock-solid reputation around here.
Your Workflow From Primer To Final Clearcoat
A professional automotive finish is built in layers, and each has a critical job. This isn't just about spraying color; it's a systematic process where every coat lays the groundwork for the next. Nailing this workflow is how you get that deep, durable shine everyone's after.
The whole process, from the first primer coats to the final clearcoat, requires a solid understanding of the different automotive paints, lacquers, and related compounds you'll be handling. Each one behaves differently, and success is in the details.
The Foundation: Epoxy and High-Build Primer
Your first layer over bare, prepped metal should always be an epoxy primer. Think of it as the ultimate glue for your paint job. Its main purpose is to forge an incredible chemical bond with the metal, completely sealing it off from moisture and stopping corrosion in its tracks. An epoxy primer creates a non-porous barrier, giving you a bulletproof foundation.
Next up is the high-build surfacer, sometimes called a filler primer. This is your chance to really perfect the panel. This thicker primer is designed to fill minor imperfections, sand scratches, and any slight waviness. After a few coats, you can block-sand it perfectly smooth, creating a flawless canvas for your color.
For our professional clients here in San Luis Obispo and the surrounding areas like Paso Robles and Arroyo Grande, getting this foundation right is non-negotiable, especially for commercial fleet vehicles that need to withstand heavy daily use.
Applying Basecoat For Perfect Color
Once your surface is primed and perfectly flat, it's time for the color. The basecoat is purely for looks—it provides the color and any metallic or pearl effect, but it has almost no durability or gloss on its own. The key here is to apply thin, even coats.
Your goal is simply to achieve full color coverage without piling on too much material. This is where your airless sprayer technique really gets put to the test. I always aim for two to three light-to-medium coats and watch the recommended flash time like a hawk.
Flash time is the mandatory wait between coats that allows solvents in the paint to evaporate. Rushing this step is a recipe for disaster. You'll end up with a defect called "solvent pop," where trapped solvents create tiny pinholes in your finish as they try to escape.
Laying Down The Final Clearcoat
The clearcoat is the last, and arguably most important, layer. It’s what provides that deep gloss, UV protection, and chemical resistance that makes a paint job last for years. This is your "money coat," so it has to be right.
Unlike the basecoat, clearcoat is applied in heavier, wetter coats. The idea is to get the material to flow out smoothly into a single, seamless layer of gloss. You'll typically apply two or three wet coats, again, making sure to respect the flash time between each one. Be careful, though—moving too slowly or holding the gun too close will cause ugly runs and sags.
This infographic breaks down the core elements of a successful spray pass, which is crucial for every single layer you apply.
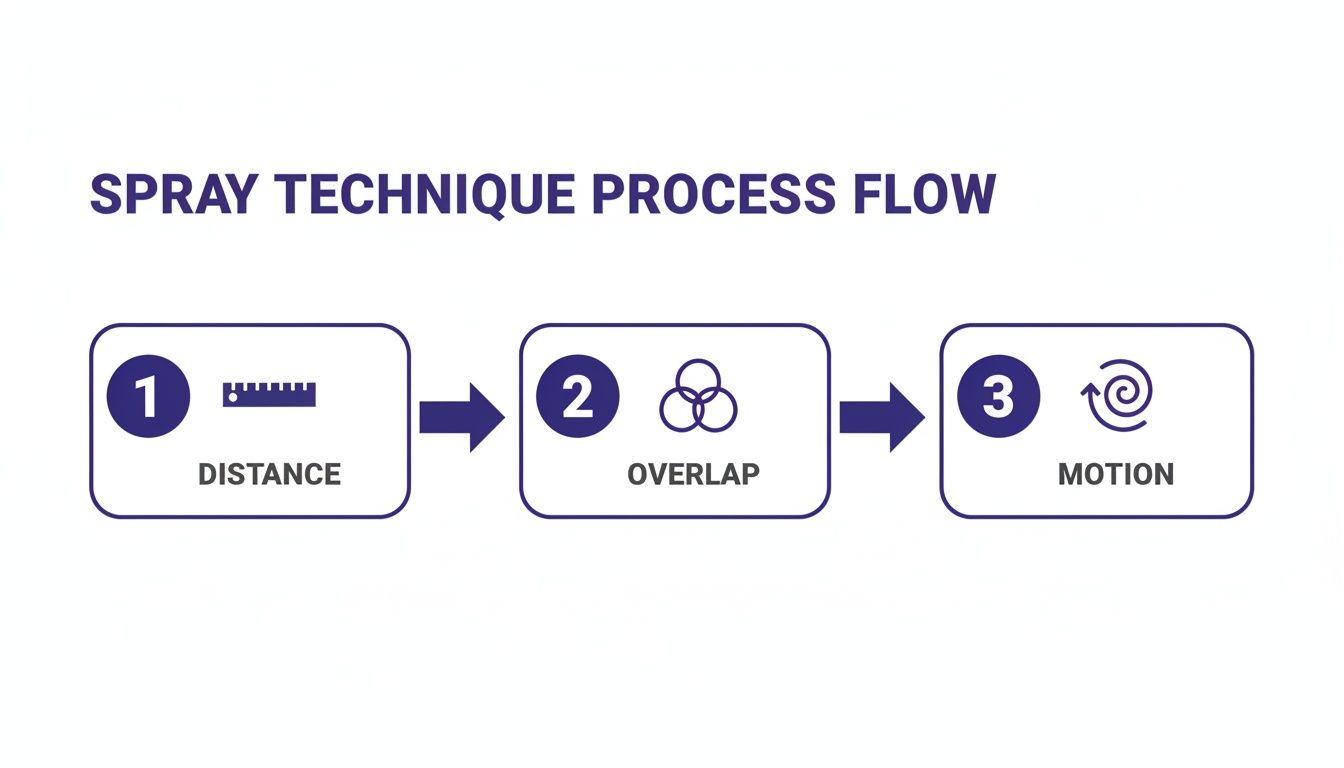
This visual is a great reminder that maintaining a consistent distance, getting that 50% overlap, and using a steady, deliberate motion are the fundamentals you can't ignore.
The quality of your finish is directly tied to the quality of your equipment and its upkeep. There's a reason the market for airless sprayer accessories is projected to hit USD 1,611.3 million by 2035; shops that do this for a living know that fresh tips and clean filters are essential for consistent results. It's a small investment to protect the sprayer pump and the job itself. After putting in all this work, proper maintenance is the final step. Be sure to read our detailed guide on how to clean an airless paint sprayer like a pro to protect your gear.
Answering Your Top Airless Auto Painting Questions
We’ve walked through everything from prep work to spraying technique, but I know there are always those specific, nagging questions that pop up on the job. These are the real-world problems we hear about all the time from pros right here in our San Luis Obispo shop.
Let's clear the air and tackle the most common questions head-on.
Can You Really Get a Smooth Finish on a Car with an Airless Sprayer?
Absolutely. The old idea that airless is just for slapping thick paint on barns is completely outdated. When you’re using professional-grade equipment, like a Graco unit with a Fine Finish Low Pressure (FFLP) tip, the atomization you can achieve is incredible.
The trick is to combine that FFLP tip technology with properly thinned paint, dialed-down pressure settings, and a disciplined, consistent spray technique. For single-stage enamels on fleet vehicles or tough industrial topcoats on heavy equipment, the finish is often just as good as what you’d get from other methods—it just goes on a whole lot faster.
What Is the Best Airless Tip Size for Automotive Paints?
For automotive work, you need a much finer setup than you’d use for house paint. A great starting point for most basecoats and clearcoats is a 310 or 410 FFLP tip.
Here’s what those numbers actually mean for you on the job:
The first digit ('3' or '4'): This number, when you double it, tells you the fan width in inches. So, a '3' gives you a 6-inch fan, and a '4' gives you an 8-inch fan. That’s the perfect size for maintaining control on car panels.
The last two digits ('10'): This is your orifice size, measured in thousandths of an inch (.010"). This tiny opening is what you need to properly atomize thinner materials like basecoats and clearcoats without flooding the surface.
Of course, always double-check the paint’s technical data sheet for the manufacturer's recommendation and run a quick test spray before you hit the vehicle itself.
How Do I Avoid Runs When Painting Vertical Panels Like Car Doors?
Runs and sags on vertical panels almost always come down to one of three things: moving too slow, holding the gun too close, or trying to lay down one heavy coat instead of several lighter ones.
Fixing it is all about technique. Keep your arm moving at a good, steady pace across the panel. You need to maintain that crucial 10-12 inch distance from the surface and hold the gun perfectly perpendicular the whole time. Most importantly, build your color in two or three light coats, giving the paint proper flash time between each one. This lets the paint set up just enough to resist gravity.
For our local pros in San Luis Obispo, Atascadero, Paso Robles, Arroyo Grande, and Pismo Beach, nailing this technique is what separates a decent job from a flawless finish, whether you're working on a commercial van or a personal truck.
What Are the Most Critical Safety Precautions for This Work?
Safety is non-negotiable, period. First, airless sprayers operate at pressures that can cause severe injection injuries that require immediate medical attention. Never point the gun at yourself or anyone else.
Second, automotive paints are serious business—many contain toxic isocyanates. A simple cartridge mask won’t cut it. You absolutely must use a supplied-air respirator inside a properly ventilated spray booth.
Finally, always gear up with nitrile gloves, a full paint suit, and proper eye protection to prevent skin contact. And make sure your equipment is properly grounded to prevent static sparks, which can easily ignite flammable paint fumes.
When you're ready to tackle your next automotive painting project, having the right equipment and support makes all the difference. At Contractor's Maintenance Service, we stock the top-tier airless sprayers, parts, and accessories that keep your shop running smoothly.
Explore Our Graco and Titan Airless Sprayer Solutions or stop by our San Luis Obispo service center for some personalized advice.