


A Contractor's Guide to Airless Paint Sprayer Paint
- Dec 20, 2025
- 16 min read
Picking the right airless paint sprayer paint is the first real step toward getting that flawless, professional finish. It can turn a job that would take forever into something you can knock out efficiently. The secret isn't just in the sprayer itself—it's about making sure the machine and the material you're pushing through it are a perfect match.
This guide will walk you through exactly what you need to know to get it right every time.
Why the Right Paint Matters
An airless sprayer works on a simple but powerful idea: it uses a high-pressure pump to atomize paint into a fine, even mist. Unlike older methods that use compressed air, this system forces the paint through a tiny hole in the spray tip. This process demands a paint with just the right properties to avoid clogs, guarantee even coverage, and leave behind a finish that lasts.
For pros working in San Luis Obispo and the surrounding areas, using the correct airless paint sprayer paint isn't optional. Whether it's a home in Paso Robles or a commercial building in Atascadero, the right coating is what ensures the job will stand up to the unique Central Coast climate. We're proud to serve the entire region, including:
San Luis Obispo
Paso Robles
Atascadero
Arroyo Grande
Grover Beach & Pismo Beach
Morro Bay & Los Osos
Templeton & Cambria
Nipomo
Efficiency is in High Demand
The entire painting industry is shifting toward airless technology, and for good reason. The global market, which is currently sitting at $1.5 billion, is expected to more than double and hit $3.2 billion by 2034. Why the huge jump? It's all about efficiency. These systems can help contractors finish jobs up to 40% faster and cut down on costly overspray. For any painting business, that means quicker turnarounds and better profits on every single project.
Of course, a great finish starts long before you pull the trigger. For truly professional results, be sure to nail your surface prep by checking out the definitive guide on whether to caulk or paint first.
Choosing the right paint is about more than just color. It's about maximizing your equipment's performance, minimizing material waste, and delivering a result that stands the test of time.
This guide will break down the essentials, from understanding viscosity—basically, the thickness of your paint—to picking the right coatings for any job you face. If you're just getting started with this tech, our professional painter's guide to portable airless sprayers is a great place to begin with the equipment itself.
How To Choose the Right Paint for the Job
Picking the right paint for your airless sprayer can feel overwhelming, especially when you're staring down an aisle packed with options. But getting this choice right is a game-changer. It's the difference between a flawless finish and a frustrating job, whether you're spraying a home in Arroyo Grande or a commercial space in San Luis Obispo.
The secret is to look past the color chip and think about the coating itself. Different paints are engineered for different results, and knowing the basics is the first step to becoming a pro with your sprayer.
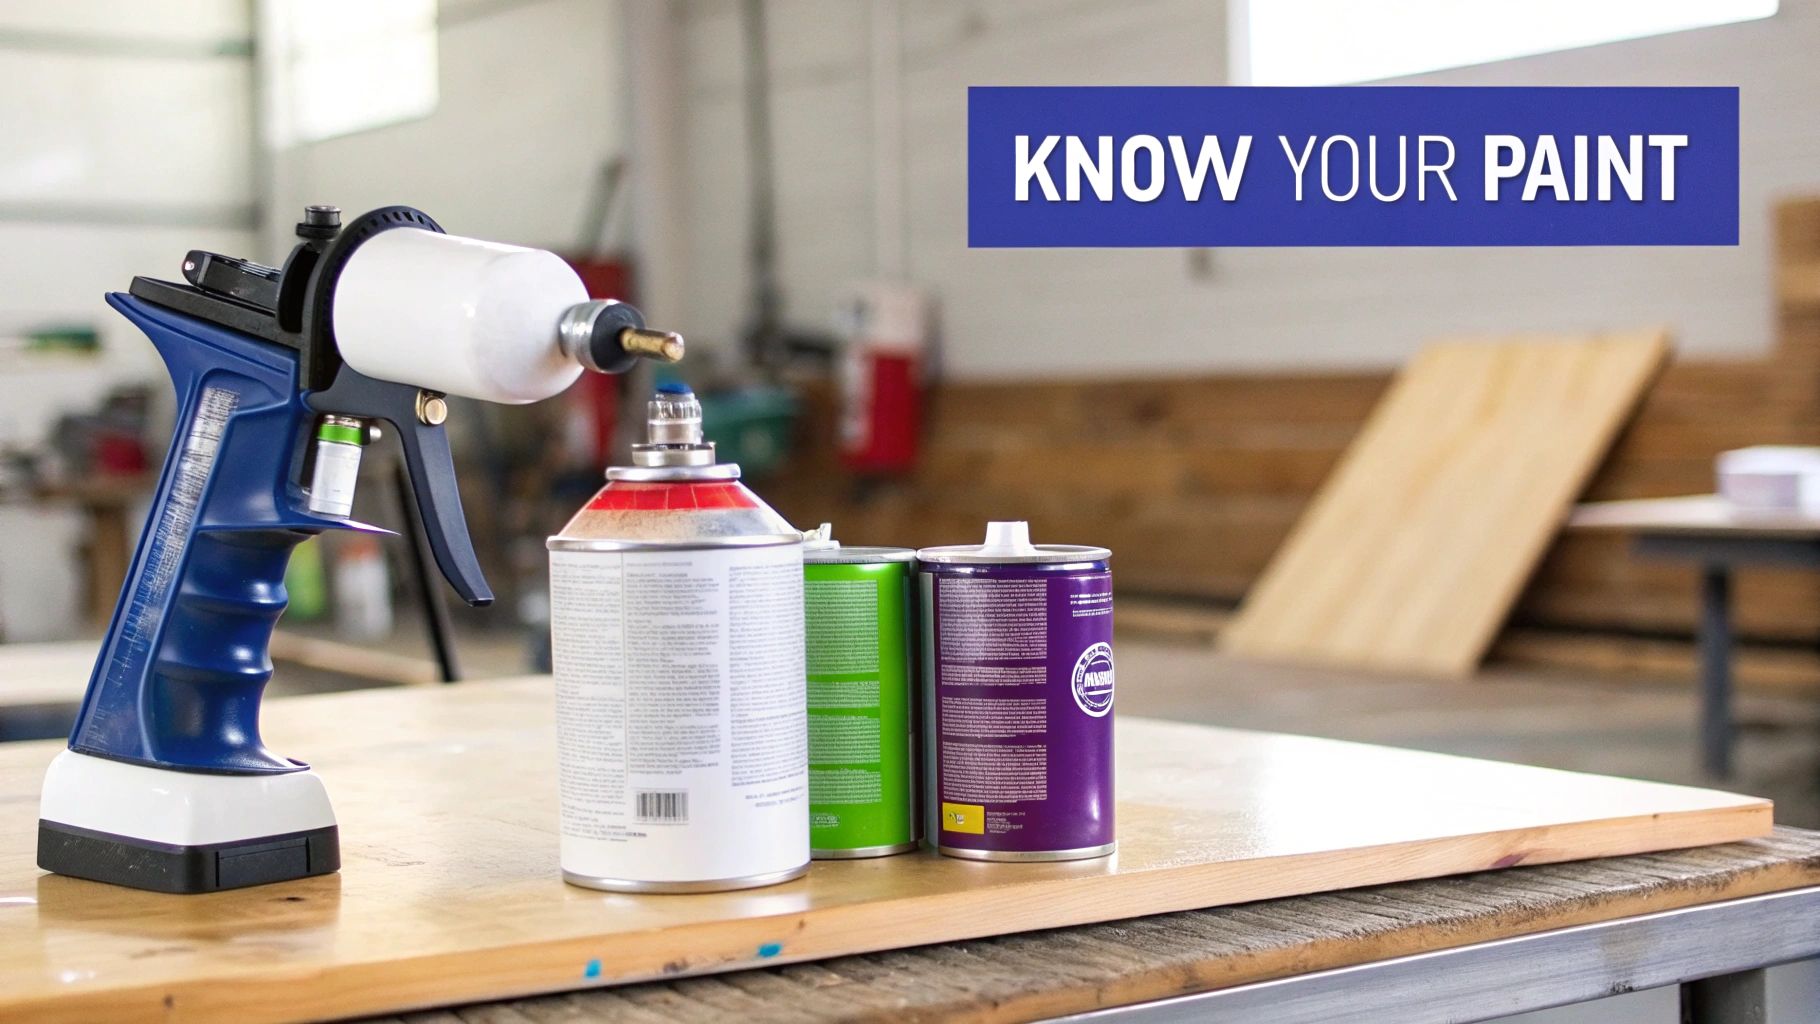
Understanding Paint Types for Airless Systems
Most of the coatings you’ll run into fit into a few main buckets. Each one has its own personality, making it a better fit for certain jobs and surfaces.
Latex (Water-Based) Paints: This is the workhorse for most residential and commercial jobs. Latex paints are versatile, a breeze to clean up with just water, and dry pretty fast. A good quality acrylic latex gives you great durability and keeps its color, making it a solid choice for almost any interior or exterior wall.
Oil-Based (Alkyd) Paints: When you need a rock-solid, smooth finish, oil-based is the way to go. It’s perfect for high-traffic spots like trim, doors, and cabinets that take a beating. Cleanup requires mineral spirits and it takes longer to dry, but for pure toughness, it's hard to beat.
Stains and Sealers: These are much thinner coatings made to soak into wood instead of just sitting on top. Think decks, fences, and siding. Their low viscosity makes them incredibly easy to spray, flowing through an airless system without much fuss.
For painters here on the Central Coast, from Paso Robles down to Pismo Beach, matching the paint to the job is how you get a finish that lasts and stands up to our unique climate.
Think of paint viscosity like this: a wood stain is as thin as water, flowing effortlessly. Your standard latex paint is thicker, more like maple syrup. Then you have heavy-duty coatings like elastomeric, which is as thick as cold honey—it takes some serious muscle to get it moving. Your sprayer is the engine providing that muscle.
Paint Compatibility for Airless Sprayers
To make things a little easier, here's a quick cheat sheet for matching common paint types with an airless sprayer. This table gives you a general idea of what works best and what to watch out for.
Paint Type | Common Use Cases | Airless Sprayer Compatibility | Key Consideration |
|---|---|---|---|
Acrylic Latex | Interior/Exterior Walls, Ceilings | Excellent. The most common type used with airless sprayers. | May require light thinning with water for a finer finish. |
Oil-Based (Alkyd) | Trim, Doors, Cabinets, Metal | Good. Sprays to a very smooth, durable finish. | Requires solvent for thinning and a thorough cleanup process. |
Primers | New Drywall, Bare Wood, Stain Blocking | Excellent. Formulated to be sprayed for fast, even coverage. | Choose the right primer for the substrate and topcoat. |
Stains (Wood) | Decks, Fences, Siding | Excellent. Low viscosity makes for very easy spraying. | Use smaller tip sizes to avoid applying too much material. |
Elastomeric Coatings | Stucco, Masonry, Concrete | Good, with the right setup. Needs a powerful sprayer. | Requires a large tip size and a high-pressure, high-GPM pump. |
Remember, this is just a starting point. The best source of truth for any specific product is always the manufacturer.
The Most Important Document: The Technical Data Sheet
Every single can of paint has a cheat sheet that most people throw away: the Technical Data Sheet (TDS). This little document is your roadmap to a perfect spray job. It’s straight from the manufacturer and tells you exactly how to use their product with an airless sprayer.
Instead of guessing, the TDS spells it all out for you. Just look for a section called "Application" or "Spraying Instructions." This is where you'll find the gold.
What to look for on a TDS:
Recommended Tip Size: The manufacturer will list the ideal orifice size range (like .015" - .019") to properly atomize the paint.
Pressure Settings: It will give you a recommended PSI range to get a solid spray pattern without creating a fog of overspray.
Thinning/Reduction: The TDS tells you if the paint needs thinning, what to use (water, mineral spirits, etc.), and by how much (e.g., "no more than 1 pint per gallon"). Follow this to the letter, or you could ruin the paint's properties and void its warranty.
Learning how to find and read a TDS is probably the single most valuable skill for anyone using an airless sprayer professionally. It takes the guesswork out of the equation and guarantees you're using the paint exactly as intended. For specialty work, like getting that factory-smooth finish on kitchen cabinets, pairing the TDS with a detailed guide to the best paint for cabinet painting will set you up for flawless results every time.
Mastering Paint Viscosity and Thinning
Getting your paint to the right consistency is one of those secrets of the trade that separates a professional finish from a frustrating mess. It’s the difference between a smooth day on the job and a constant battle with clogs, drips, and an ugly, uneven spray pattern. The key to it all is viscosity—a fancy word for how thick your paint is.
Think of it this way: water is thin and flows freely, while pancake syrup is thick and pours slowly. Your airless sprayer’s pump has to work much harder to push that syrupy paint through the hose and tip. If the paint is too thick, the pump strains, the tip clogs, and your finish suffers.
Why Viscosity is a Game Changer
For any contractor or maintenance team, especially those working here in San Luis Obispo County, getting viscosity right is non-negotiable. The proper consistency allows your sprayer to atomize the paint correctly, turning it into a fine, even mist that lays down perfectly. When you dial in the viscosity, you get better coverage with less paint, and you put a lot less strain on your expensive equipment.
This ability to handle thicker materials is a huge reason airless systems are the go-to for pros. In fact, airless sprayers dominate the market, projected to account for 41.2% of total revenue in the broader spray painting industry. Their power to handle high-viscosity coatings, often without any thinning at all, makes them essential for everything from residential repaints in Atascadero to large-scale industrial projects. You can get more details on these market trends and the power of airless systems here. This is exactly why we're proud to service and supply top-tier airless sprayers to professionals across the Central Coast, from Paso Robles to Arroyo Grande and Morro Bay.
How to Measure Viscosity Like a Pro
Guessing whether your paint is thin enough is a recipe for a bad day. The only reliable way to get consistent, repeatable results is with a viscosity cup. It's a simple, cheap tool that measures how long it takes for a set amount of paint to drain through a small hole. No guesswork, just solid data.
Here’s how to get it right every time:
Prep the Paint: Give your paint a thorough stir to make sure the consistency is uniform. If you think you'll need to thin it, do that before you test.
Dip and Fill: Plunge the viscosity cup all the way into the paint, letting it fill to the brim.
Time It: Lift the cup straight out of the paint and start your stopwatch the second the bottom of the cup clears the surface.
Stop the Clock: Keep your eye on the stream of paint flowing out. The very moment that stream breaks, stop the timer.
Check the Specs: Compare your time (in seconds) against the manufacturer’s recommendation on the paint’s Technical Data Sheet (TDS). This tells you if you're in the sweet spot for spraying.
The Art of Thinning Your Paint
With today's powerful airless sprayers, you often don't need to thin your paint at all. But sometimes, a little reduction is necessary to achieve a finer finish or just to get the paint flowing better on a hot day.
The golden rule of thinning is simple: less is more. You're aiming to reach the minimum viscosity needed for good atomization, not to water down the product. Over-thinning kills the paint's hiding power and can seriously compromise its durability.
When you do need to thin, make sure you use the right stuff.
For latex or water-based paints, use clean, cool water.
For oil-based or alkyd paints, use mineral spirits or whatever specific reducer the manufacturer calls for.
Start small. Add no more than 5% by volume (that's about 6 ounces per gallon) and mix it in completely. Then, test it again with your viscosity cup. Only add more if you absolutely have to, and never go beyond the maximum ratio listed on the TDS. Stick to this process, and your airless sprayer will perform exactly how it was designed to.
Matching Your Tip and Pressure to Your Paint
Once you've got your paint viscosity dialed in, the next piece of the puzzle is your equipment. The tip on your airless sprayer is the command center for the whole operation. It’s what shapes the spray fan and controls exactly how much airless paint sprayer paint hits the surface.
Nailing this part is what separates an amateur job from a pro-grade finish. It’s how you get that perfect, even coat while keeping overspray to a minimum.
Decoding the Numbers on Your Spray Tip
Every airless spray tip has a three-digit number stamped right on it, something like 517. This isn't just a random part number—it's a code that tells you everything you need to know about how that tip will perform. If you want to match your tip to the job, you need to know how to read it.
Let's use a 517 tip as our example:
The First Digit (5): Double this number, and you get the width of your spray fan in inches when you’re spraying from about a foot away. In this case, the 5 gives you a 10-inch fan. A smaller number, like a 2, gives you a 4-inch fan—great for narrow stuff like trim or railings. A bigger number is what you want for covering big, open walls.
The Last Two Digits (17): This part tells you the size of the tip's opening, or orifice, in thousandths of an inch. A 17 means the orifice is .017 inches across. This number is all about flow rate. The bigger the number, the more paint you're putting out.
Crack this simple code, and you can pick the right tip for any job, every single time. For a deeper dive, check out our full guide on choosing the right tip size for airless sprayer finishes.
The Connection Between Viscosity, Tip Size, and Pressure
Think of it as a three-way balancing act. The thickness of your paint directly influences the tip size and pressure you need to use.
Heavier, high-viscosity materials like unthinned latex or elastomeric coatings need a bigger orifice to push through without constant clogs. On the flip side, thinner coatings like stains and lacquers require a much smaller orifice. Otherwise, you'll apply way too much material, too fast.
Pressure is the final variable. Your goal is to use just enough pressure to fully atomize the paint, which means breaking it down into a fine, consistent mist.
Too little pressure gives you an uneven spray pattern with ugly "fingers" or "tails" along the edges. Crank it too high, and you'll create a fog of overspray, waste a ton of paint, and wear out your tip much faster. The sweet spot is the lowest possible pressure that still gives you a perfect spray pattern.
Quick Reference for Paint, Tips, and Pressure
You should always start with the paint’s Technical Data Sheet (TDS), but the table below is a great starting point for common coatings. It’s a handy reference we share with our clients across San Luis Obispo County, from Paso Robles to Arroyo Grande, to help them tackle any project that comes their way.
Here’s a look at some typical setups.
Recommended Airless Tip Sizes and Pressure Settings
Paint/Coating Type | Recommended Tip Orifice Size (inches) | Typical Pressure Range (PSI) |
|---|---|---|
Stains & Sealers | .009" - .013" | 1,000 - 1,500 PSI |
Lacquers | .009" - .013" | 1,000 - 1,500 PSI |
Enamels (Oil-Based) | .013" - .015" | 1,500 - 2,000 PSI |
Interior Latex Paint | .015" - .019" | 1,800 - 2,500 PSI |
Exterior Latex Paint | .017" - .021" | 2,000 - 3,000 PSI |
Elastomeric Coatings | .023" - .035"+ | 2,500 - 3,500+ PSI |
Always remember to test your spray pattern on a piece of cardboard before you start on the actual surface.
This visual guide helps clarify what happens when your paint's consistency isn't quite right.
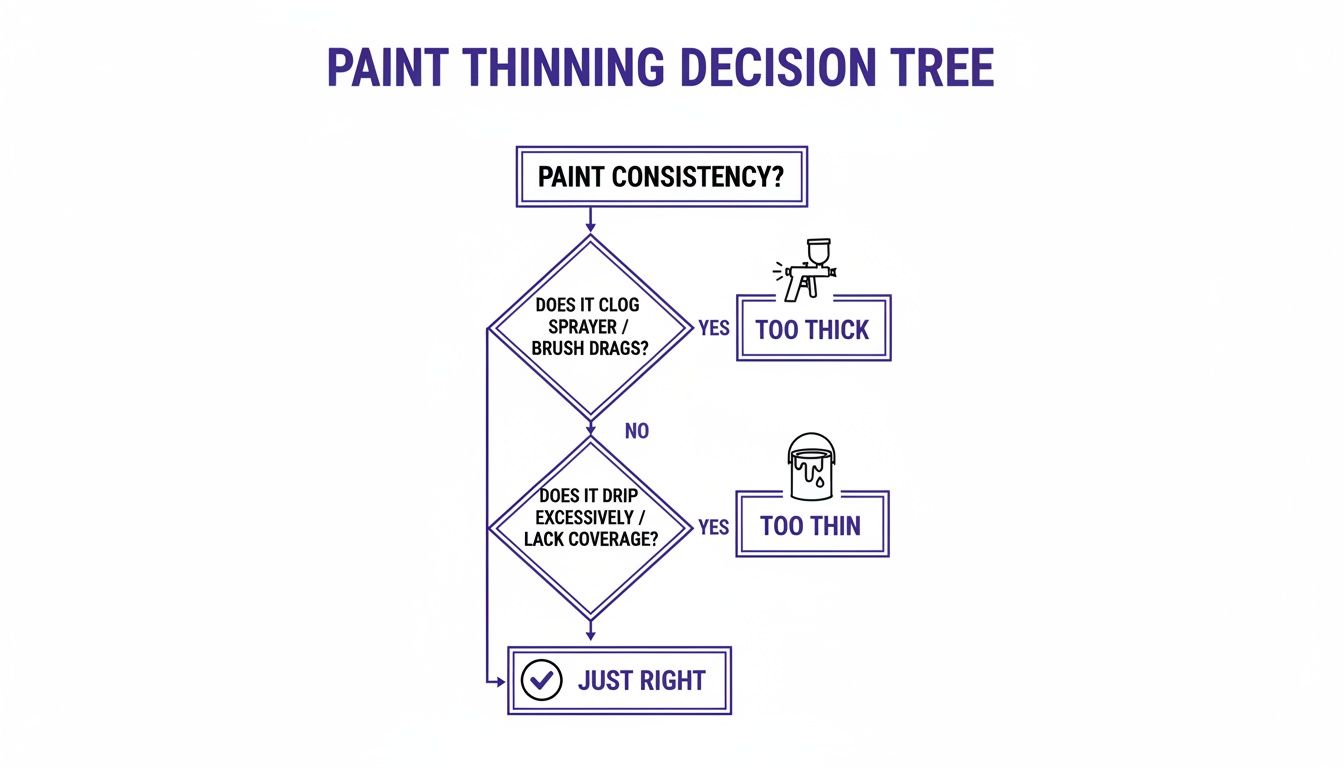
As you can see, paint that’s too thick will cause clogs and frustration. If it's too thin, you'll end up with drips and runs. Finding that "just right" balance is what leads to a flawless, professional finish.
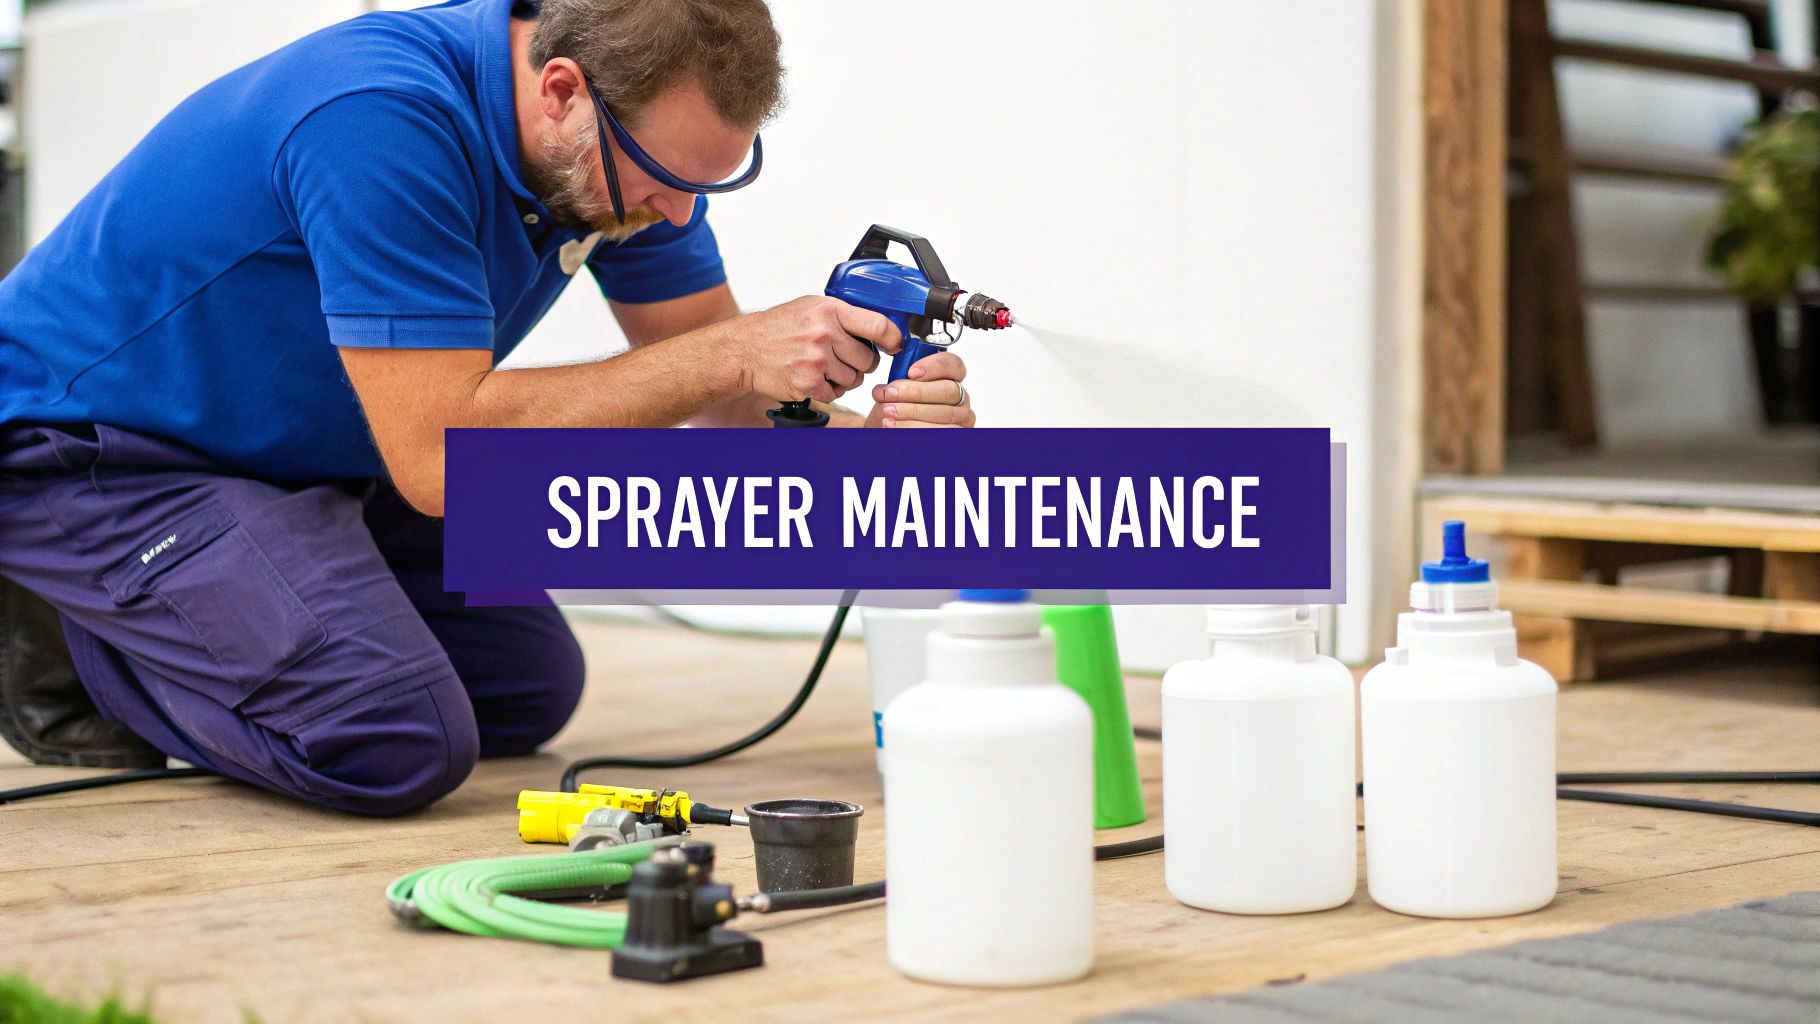
Essential Sprayer Maintenance and Troubleshooting
Your airless sprayer is the workhorse of your operation, a serious investment that pays you back with every smooth, efficient job. But just like any high-performance tool, it needs consistent care to deliver the results you and your clients expect. Cutting corners on maintenance is the fastest way to turn a profitable project into a frustrating mess of clogs, pressure drops, and expensive downtime.
The key to keeping your sprayer in top shape is a simple, non-negotiable routine. Proper cleaning isn't just a good idea—it's the single most important thing you can do to extend the life of your pump and ensure your airless paint sprayer paint goes on flawlessly. Think of it as protecting both your investment and your professional reputation.
Your Daily Maintenance Checklist
Consistency is everything. Spending a few minutes on preventive care at the end of the day can save you hours of headaches tomorrow. For pros working across San Luis Obispo County, from Paso Robles down to Nipomo, this discipline is what keeps jobs moving forward and on schedule.
Thorough Flushing: After every single job, flush the entire system until your cleaning fluid runs perfectly clear. Use water for latex paints and mineral spirits for oil-based coatings.
Filter Inspection: Your sprayer’s filters—suction, manifold, and gun—are its last line of defense. Check and clean them daily to stop debris from ever reaching the tip.
Tip and Guard Cleaning: Pop the spray tip and guard off and give them a good cleaning with a soft-bristled brush and the right solvent. A clogged tip is almost always the first sign of a dirty system.
Remember, the goal is to get every last trace of paint out of the pump, hose, and gun. Any material left behind will harden overnight, creating blockages that strain your pump and destroy your spray pattern.
Common Problems and Quick Solutions
Even with meticulous maintenance, things can still go wrong on the job. The trick is knowing how to diagnose and fix them fast. Here’s a rundown of the most common issues and how to get back to spraying.
Problem 1: Inconsistent Spray Pattern or "Tails"
Likely Cause: Your pressure is too low for the paint's viscosity, or the spray tip is just plain worn out. A worn tip can waste up to 20% more paint, which adds up fast.
Solution: Start by gradually turning up the pressure until the "tails" or "fingers" at the edges of your spray fan disappear. If that doesn't fix it, it’s time for a new tip.
Problem 2: Frequent Tip Clogs
Likely Cause: Junk is getting through the system. This usually points to a clogged or missing filter somewhere, or the paint wasn’t strained properly before you started.
Solution: First, reverse the tip and give it a quick spray onto some scrap cardboard to clear the clog. Then, stop and check all your filters—suction, manifold, and gun. Clean or replace them, and always, always strain your paint.
Problem 3: Sudden Loss of Pressure
Likely Cause: It could be something simple like a clog in the suction tube or a loose connection. It could also be a worn-out pump packing or an issue with the hose itself.
Solution: Check that your suction tube is fully submerged in the paint and isn't clogged. Make sure all your hose and gun connections are tight. If you’re still losing pressure, your pump packings probably need to be replaced. To rule out any hose problems, check out your ultimate guide to the perfect paint sprayer hose to make sure it's not the weak link.
Serving San Luis Obispo County and the Central Coast
When a project calls for a flawless finish—without the headache of managing your own equipment and materials—our professional painting team is ready to step in. We're specialists in advanced airless sprayer technology, delivering durable, high-quality coatings for homes and businesses all across the Central Coast.
Our local roots run deep, which means we know exactly what it takes to protect a property here. We use the right airless paint sprayer paint and proven techniques to make sure your finish holds up against our unique coastal climate.
It's no surprise that pros are turning to this technology more and more. The global market for airless paint sprayers has grown to an impressive $676.435 million in sales and is on track to hit $882.4 million. That boom is powered by the construction and manufacturing industries, especially in North America, where getting the job done right and efficiently is everything. You can learn more about the growth of the airless sprayer market to see why this tech is becoming the industry standard.
Our Service Area
We bring this professional-grade service to communities throughout San Luis Obispo County. No matter the scale of your project, our team is equipped to deliver a lasting result that both enhances and protects your property.
We proudly serve the following cities and their surrounding areas:
San Luis Obispo
Paso Robles
Atascadero
Arroyo Grande
Grover Beach
Pismo Beach
Morro Bay
Los Osos
Templeton
Cambria
Nipomo
By pairing top-tier equipment with genuine expertise, we deliver a finish that doesn't just look incredible—it provides serious, long-term durability against the elements. Get in touch, and let's talk about bringing an exceptional finish to your next project.
Common Questions About Airless Sprayer Paint
Even when you know what you're doing, questions always pop up on the job. Getting a straight, reliable answer fast is what keeps a project on track and ensures a flawless finish. Here, we tackle some of the most common questions contractors and maintenance teams have about airless paint sprayer paint.
These are direct answers to solve real-world challenges on the spot. Whether you're a seasoned pro in San Luis Obispo or just starting out in Paso Robles, these insights will reinforce what you’ve learned and help you get the job done right.
Can I Use Any Off-The-Shelf Paint in an Airless Sprayer?
This is probably the most frequent—and most important—question we get. While a lot of modern, high-quality paints are made to be "sprayer-friendly," the short answer is not always. Low-grade paints or certain specialty coatings might be too thick or loaded with fillers that will clog your sprayer in a heartbeat.
Your best bet is to always check the paint’s Technical Data Sheet (TDS). This document from the manufacturer is your definitive guide. It will tell you if the paint is suitable for spraying and, if so, the ideal tip sizes and pressure settings to use. Skipping the TDS is a gamble that usually leads to a poor finish and can even damage your equipment.
Always lean toward paints specifically recommended for airless sprayers. They're engineered for better flow and atomization, which saves you a ton of time and frustration with clogs. Using the right airless paint sprayer paint is the first step to getting a professional result.
How Can I Check if Paint is Too Thick Without a Viscosity Cup?
A viscosity cup gives you the most accurate reading, but you don’t always have one handy in the field. Here's a quick test you can do right on the job site. First, give the paint a thorough stir, then lift your stir stick or paddle out of the can.
Watch how the paint runs off. If it flows in a long, smooth, continuous stream, it's a good sign it’s thin enough to spray. But if it comes off in thick, chunky "globs" or breaks off quickly, it's definitely too thick. You'll need to thin it according to the manufacturer's directions. This simple trick is a great on-the-fly indicator.
What Is the Most Effective Way to Clean Latex Paint from a Sprayer Hose?
Proper cleaning is non-negotiable if you want your gear to last. For latex paint, the process is straightforward, but you have to be thorough.
Initial Flush: First, pump any leftover paint in the hose back into its bucket. Don't waste good material.
Water Flush: Next, stick the suction tube in a bucket of clean water. Run the sprayer at low pressure until the water coming out is completely clear.
Pump Armor: Finally, circulate a pump preservative, like Graco Pump Armor, through the system. This stuff is essential—it prevents corrosion and keeps all your seals lubricated and ready for the next job.
Following these three steps ensures every bit of latex is gone, preventing dried paint from causing blockages down the road. We stock maintenance fluids and offer expert advice to pros throughout our service areas, including Arroyo Grande, Atascadero, and Morro Bay.
Should I Still Back-Roll After Spraying?
Yes, in most cases, you absolutely should. Back-rolling is a critical step for achieving a top-tier finish. Spraying lays the paint on top of the surface, but back-rolling (gently rolling over the freshly sprayed area) actually pushes the paint into the texture of the substrate, whether it's drywall, stucco, or wood.
This simple technique does two things: it dramatically improves adhesion and ensures a more uniform, durable paint film. It might feel like an extra step, but the superior quality and longevity it delivers are well worth the effort, especially for exterior projects or any surface that isn't perfectly smooth.
For all your equipment needs, from new sprayers to essential replacement parts and expert service, Contractor's Maintenance Service is your trusted partner on the Central Coast. We provide the tools and support to keep your operations running smoothly. Explore our full range of products and services at https://www.contractorsmaintenanceservice.com.


Comments