


Start Capacitor for Air Compressor: Diagnose and Replace Quickly
- Jan 17
- 13 min read
That hum you hear from your air compressor—the one where the motor is trying, but just can't seem to get going—is almost always the first sign of trouble. More often than not, a bad start capacitor for air compressor is the culprit. Think of this little component as the one that gives the motor a critical jolt of power, that initial kick it needs to overcome inertia and start spinning.
Unpacking The Signs Of A Failing Start Capacitor
A start capacitor is like the powerful push a sprinter needs to explode off the starting blocks. Without it, the motor just sits there, humming in protest. It's getting power, but it's missing the initial torque required to actually move. For any pro who relies on tools like Graco sprayers or Multiquip compactors, that failure means immediate downtime and lost productivity.
Catching the symptoms early can save you from much bigger headaches down the road. A failing capacitor puts a ton of extra strain on the motor's windings, which can cause overheating and, eventually, total motor failure—a far more expensive fix.
Common Warning Signs
Besides that classic hum, a few other signs point straight to a failing capacitor. A slow or hesitant start-up, where the motor seems to struggle before finally kicking in, is a dead giveaway. You might also notice your circuit breaker tripping over and over when you try to start the compressor. That happens because the motor is drawing way too much current trying to start without the capacitor's help.
A healthy start capacitor is the unsung hero of single-phase motors. It provides the temporary, high-torque boost needed for a clean start, protecting the motor from the strain that leads to premature failure.
A start capacitor's job is so vital that the global market for them is booming. Valued at USD 1.24 billion in 2023, the motor start capacitor market is expected to hit USD 2.41 billion by 2033. This growth is all about the push for more energy-efficient motors, as a healthy capacitor can boost motor efficiency by up to 20-30% in common single-phase setups.
To help you troubleshoot, here's a quick rundown of the most common symptoms.
Symptoms of a Failing Air Compressor Start Capacitor
Use this quick reference table to determine if a bad start capacitor is behind your air compressor problems.
Symptom | What It Means | Next Action |
|---|---|---|
Motor Hums, Won't Start | The motor is receiving power but lacks the torque from the capacitor to start turning. | Safely discharge and test the capacitor. |
Slow or Hesitant Start | The capacitor is weak and not providing enough of a jolt, causing the motor to struggle. | This is an early warning sign. Plan to test and likely replace the capacitor. |
Circuit Breaker Trips | The motor is pulling excessive current (locked-rotor amperage) because it can't start. | Stop trying to start the unit. A faulty capacitor is the most likely cause. |
Visible Damage | Bulging, leaking oil, or burn marks on the capacitor casing are clear signs of failure. | Do not test. Replace the capacitor immediately. |
Learning to spot these symptoms lets you stop guessing and start fixing, saving you both time and money. If you're dealing with similar issues, like an air conditioner that won't start, some of the same principles apply. You can find more information on diagnosing AC compressor starting and stopping issues that might be helpful.
Local Support For Central Coast Contractors
For professionals here on California's Central Coast, equipment reliability isn't just a nice-to-have, it's a must. At Contractor's Maintenance Service, we provide expert diagnostics and parts for contractors in San Luis Obispo, Paso Robles, Atascadero, Arroyo Grande, Grover Beach, Pismo Beach, and Morro Bay. We get it—a stalled compressor can bring an entire job site to a halt. We proudly serve the entire San Luis Obispo county area, including surrounding communities like Santa Maria, Nipomo, Cambria, and Templeton.
How to Safely Test a Compressor Start Capacitor
So, you suspect the start capacitor on your air compressor is shot. Before you rush out and buy a new one, it's smart to confirm the old one is actually the culprit. This one diagnostic step can be the difference between a quick, cheap fix and wasting money on a part you didn't need.
The absolute first rule here is safety. Capacitors are basically small batteries; they hold a serious electrical charge even long after the compressor is unplugged. You must discharge it before you even think about touching it.
To do this safely, first, unplug the compressor from the wall. No exceptions. Then, grab an insulated screwdriver and carefully touch the metal shaft across both terminals of the capacitor at the same time. You might see a small spark—that's totally normal. It's just the stored energy releasing safely.
Give It a Good Look-Over First
Honestly, your eyes are often the best tool you have for this job. Before grabbing any meters, just take a close look at the capacitor. A healthy one should have a perfectly flat top and clean sides.
Be on the lookout for these dead giveaways of failure:
Bulging or Swelling: The casing looks puffed out on the top or sides, like a can of soda left in the freezer too long.
Leaking Fluid: You see an oily substance oozing from the terminals or the casing itself.
Burn Marks: Any signs of scorching, discoloration, or melted plastic around the terminals are a bad sign.
If you spot any of these, your diagnosis is done. The capacitor has failed, and it's time for a replacement. No further testing is needed.
This flowchart lays it out simply: if the motor hums but won't kick on, the capacitor is the most likely suspect.
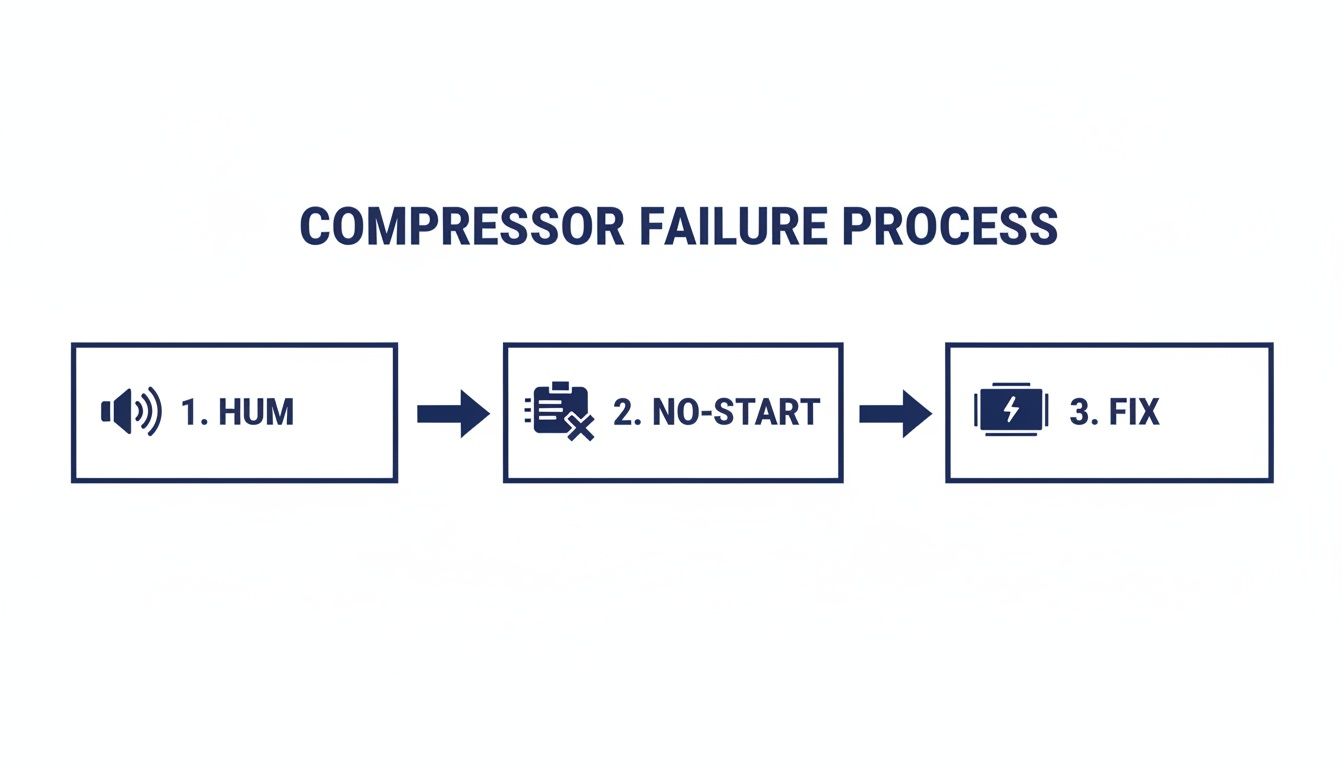
That classic "hum-but-no-start" is the textbook symptom that points directly to a bad start capacitor needing a fix.
Using a Multimeter for the Final Verdict
What if the capacitor looks perfectly fine? That's when you bring out a multimeter to check its electrical health. You'll need one with a capacitance setting, which is usually marked with a "µF" or "MFD" symbol.
After you've discharged and disconnected the capacitor, switch your multimeter to the capacitance mode. Touch one probe to each terminal—don't worry about polarity on these start capacitors. The meter will give you a reading in microfarads (µF).
Now, compare that number to the µF rating printed right on the capacitor's label. A healthy capacitor will test within 5-10% of its stated value. If your reading is way off or the meter shows "OL" (overload), the capacitor is toast.
It's easy to overlook this little component, but it's a huge deal in the industrial world. The global market for these capacitors was valued at USD 3.2 billion in 2023 and is projected to keep climbing. Field data tells us that faulty capacitors are tied to as many as 80% of single-phase compressor failures. Swapping one out is a simple fix that can boost motor efficiency by 15-25%.
Learning to run these quick checks is a fundamental part of good equipment maintenance. If you want to get more organized, take a look at our guide on building a solid equipment preventative maintenance checklist.
For our customers in San Luis Obispo and nearby areas like Paso Robles and Atascadero, we get it—downtime isn't an option. This is the exact diagnostic process our own technicians use to get your equipment back up and running fast.
Choosing the Right Replacement Start Capacitor
Okay, you've diagnosed the problem and confirmed the old capacitor is toast. Now comes the fun part: finding the right replacement. Picking out a new start capacitor for an air compressor can seem a little intimidating with all the numbers and codes, but it really just boils down to a few key specs.
Nailing these details is the difference between a quick, successful fix and a frustrating waste of time and money.
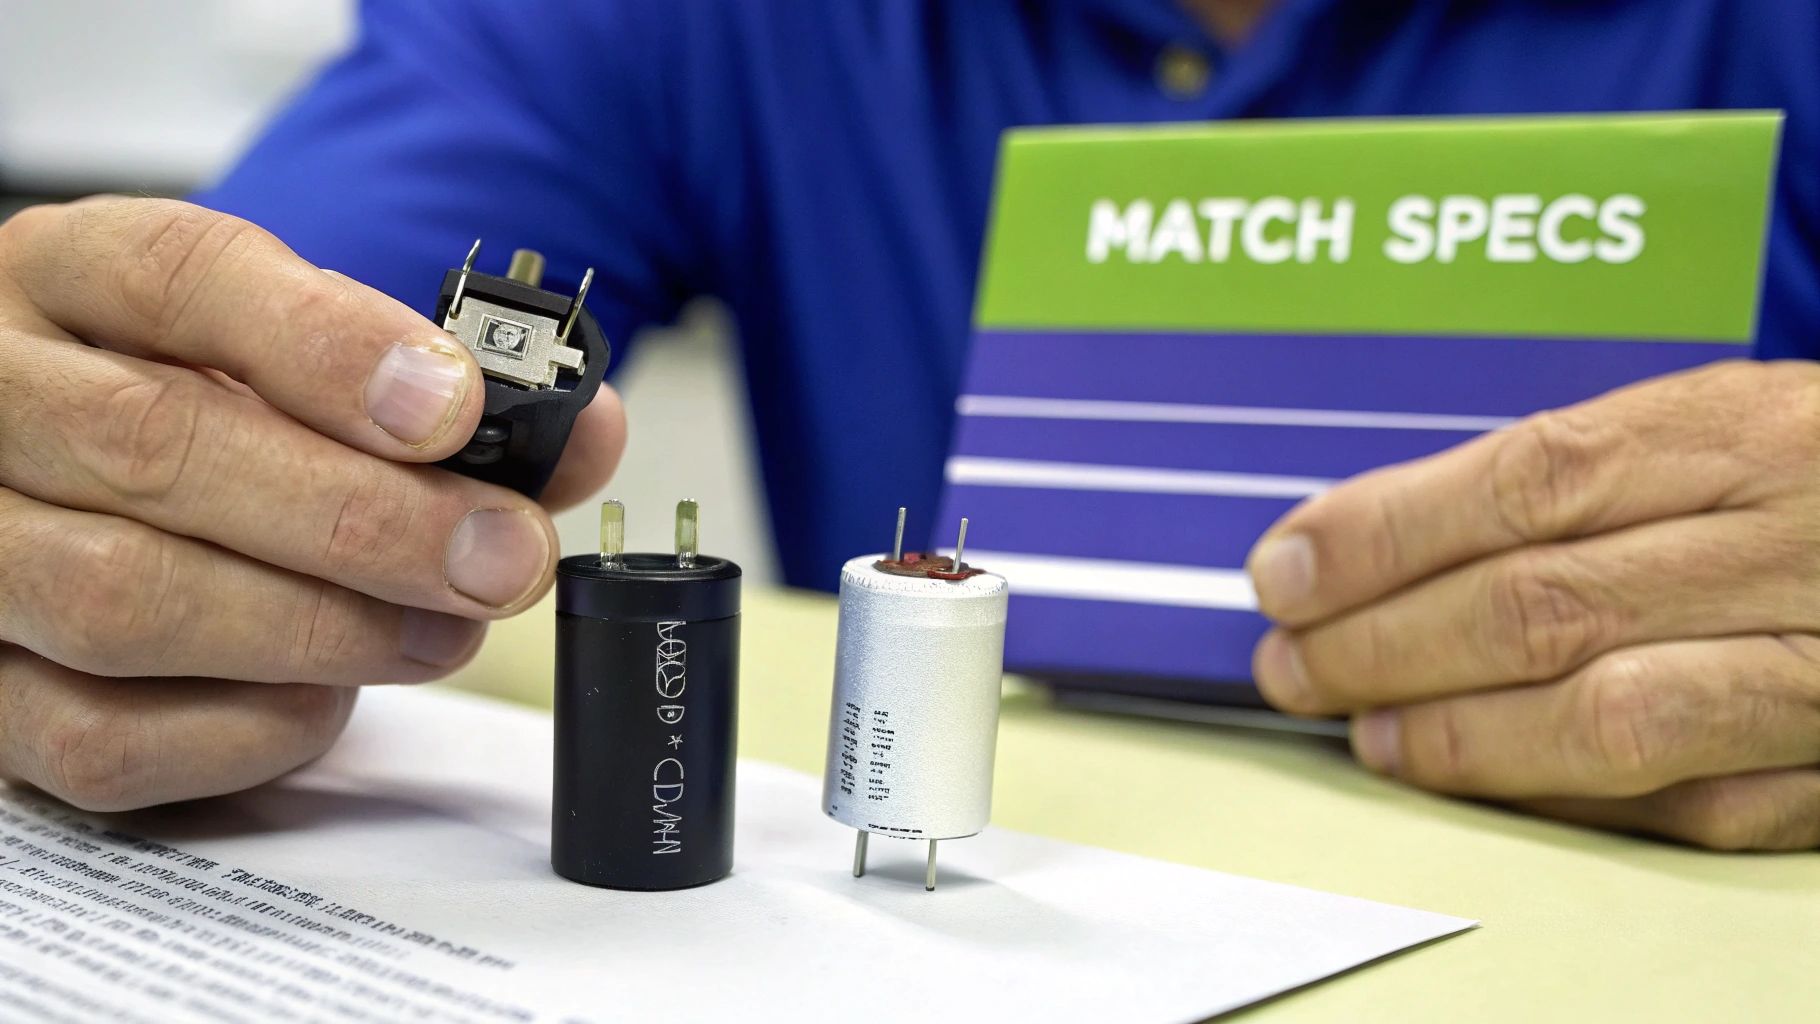
There are three critical things you need to match from the old capacitor's label: the microfarad rating, the voltage rating, and its physical dimensions. For now, you can pretty much ignore everything else. Get these three right, and you'll get the correct part on the first try.
Decoding the Capacitor Label
Think of the numbers printed on the side of your old capacitor as a blueprint for its replacement—they’re not just suggestions. Let's break down what each one means and why it's so important.
Microfarad (µF or MFD) Rating: This is the big one. It's the measure of the capacitor's ability to store an electrical charge. Your compressor's motor is engineered to work with a very specific µF rating to get the starting torque it needs.
Voltage (VAC) Rating: This tells you the maximum voltage the capacitor can safely handle. You’ve got a little wiggle room here, but it only goes one way.
Physical Size: While it's not an electrical spec, the new capacitor still has to physically fit where the old one was. Diameter and height are what you need to check.
The Microfarad (µF) rating must be an exact match. Using a capacitor with too low a rating won't provide enough torque to start the motor, while one that's too high can cause the motor windings to overheat and burn out, leading to a much more expensive failure.
This is true for any piece of equipment. For instance, if you're sourcing parts for a Graco sprayer, the capacitor specs have to align perfectly with what the manufacturer calls for, otherwise you risk damaging the entire unit. For a deeper look at sourcing the right parts for specific tools, check out our guide on sourcing Graco sprayer components.
Matching Voltage and Size
When it comes to the voltage rating, you can safely pick a replacement with an equal or higher voltage rating, but you can never go lower.
So, if your original capacitor is rated at 250VAC, you can absolutely use a 250VAC or even a 370VAC replacement without a problem. A higher voltage rating just means the capacitor is built tougher and can handle more electrical pressure—it won't "push" extra voltage into your motor.
The market for electric motor capacitors, which covers everything from compressors to HVAC systems, hit USD 13.13 billion in 2024 and is expected to keep growing. That growth is fueled by demand from industrial automation and the kind of tools we service right here in San Luis Obispo. These little components are what allow single-phase motors to generate 200-300% of their full-load torque at startup, which is critical for preventing overloads. A standard 250V unit, for example, is suitable for about 70% of common air compressors up to 5HP.
Finally, just grab a ruler or calipers and measure the height and diameter of the old capacitor. While you can sometimes get creative with mounting a slightly different-sized part, life is a whole lot easier when the replacement drops right back into the original bracket or housing.
A Practical Guide to Replacing Your Start Capacitor
You’ve done the diagnostic work and picked out the right replacement. Now it’s time to get your hands dirty and swap out that faulty start capacitor for air compressor. This is the most rewarding part of the job, and with a few precautions, it’s a straightforward fix that will have your machine humming again.
Think of this as having one of our experienced technicians from Contractor's Maintenance Service right there in your shop, guiding you through the process. We’ll break it down into simple, manageable steps.
First up, find that old capacitor. On most air compressors, it’s tucked away under a plastic housing on the side of the motor. You might need to pop off a few screws to get to it, but it’s usually pretty easy to access.
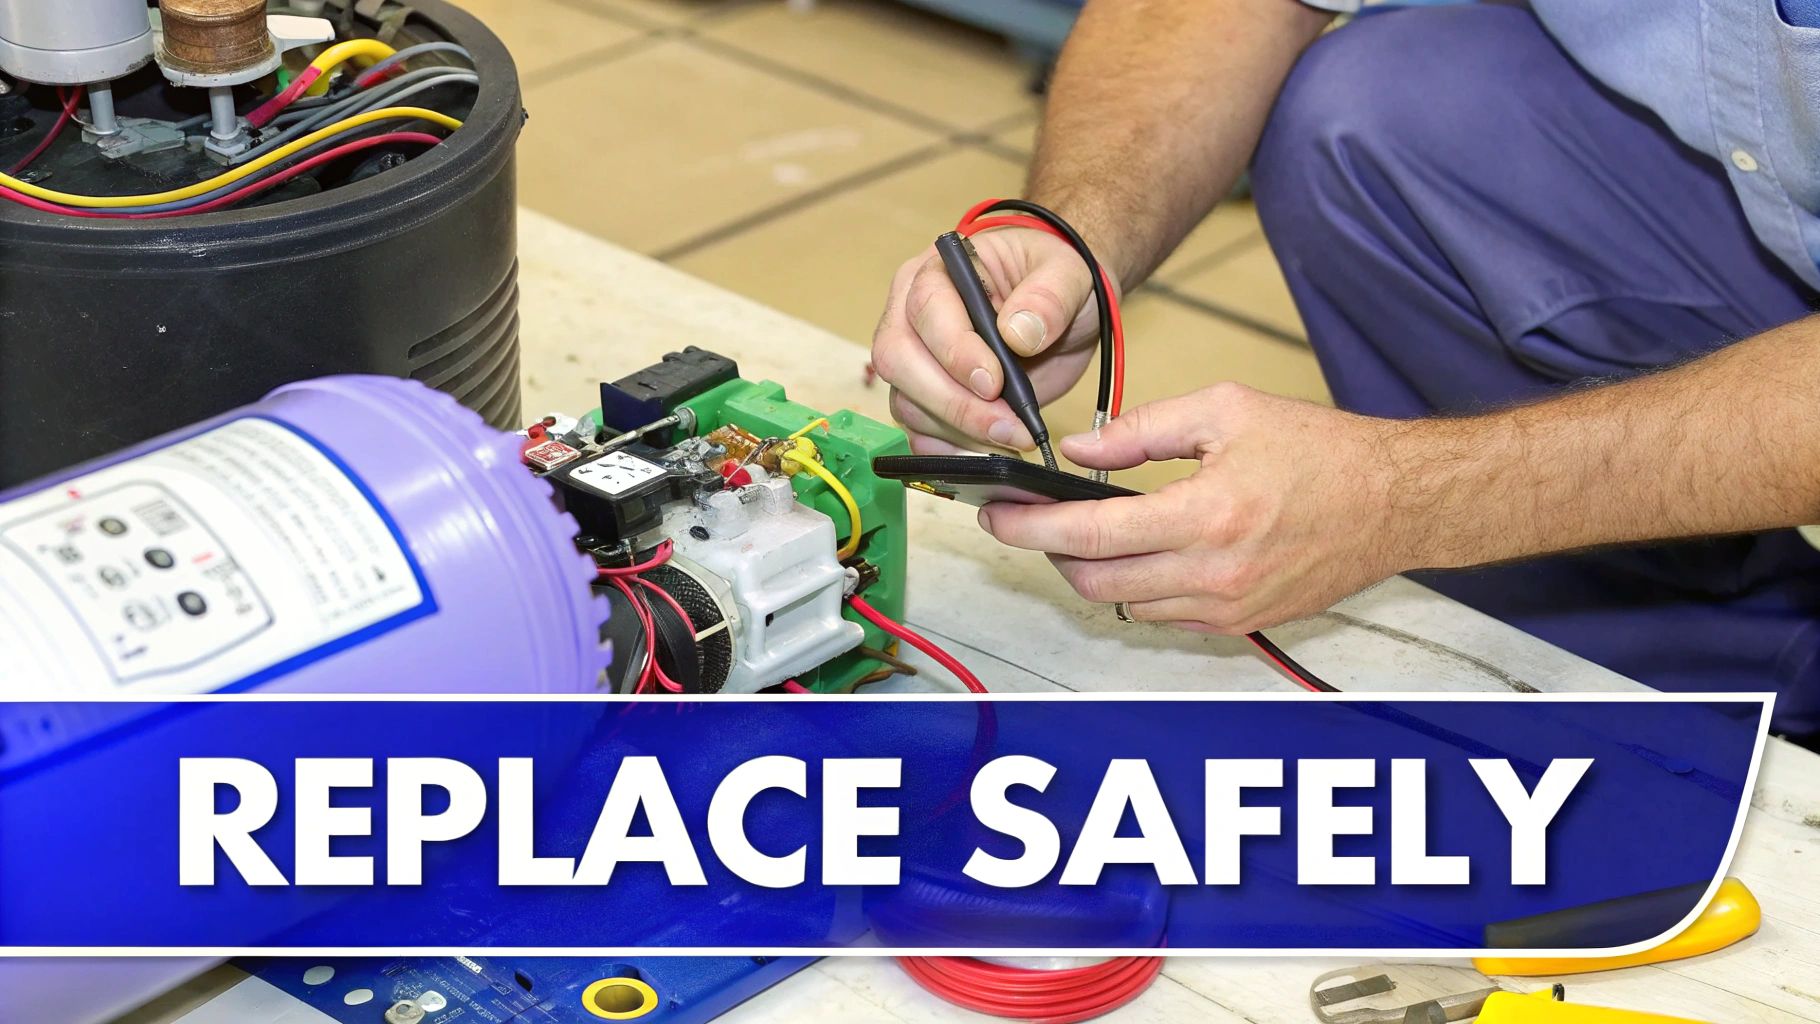
The All-Important Safety Check
Before you touch a single wire, let’s go over the most critical step one more time: safely discharging the old capacitor. Even with the compressor completely unplugged, that little cylinder can hold a dangerous electrical charge.
Grab an insulated screwdriver. Carefully lay the metal shank across both metal terminals of the capacitor at the same time. You might see a small spark—that’s exactly what you want to see. It means you’ve safely grounded it out and released any stored energy. Now it's safe to handle.
Disconnecting and Documenting the Wiring
With the capacitor safely discharged, you're clear to start disconnecting. Here’s where a simple pro tip can save you a massive headache later on.
Before you pull a single wire, grab your phone and snap a quick, clear picture of how everything is connected. This photo is your foolproof map, eliminating any guesswork when you hook up the new part.
It’s an easy step that even seasoned pros don’t skip. Once your photo is secured, you can slide the wire connectors off the terminals. If they’re a bit snug, a gentle wiggle with a pair of needle-nose pliers usually does the trick. After that, just loosen the mounting strap holding the capacitor and pull it out.
Installing the New Capacitor and Securing It
Now, you’ll just reverse the process. Set your new capacitor into the mounting bracket and tighten it down until it’s snug. You want to make sure it’s secure, because excessive vibration can shorten the life of the component and its connections.
Next, pull up that photo you took. Reconnect the wires to the new capacitor's terminals exactly as they were on the old one. Most start capacitors are non-polarized, so it typically doesn’t matter which wire goes on which terminal, but matching the original setup is always the best practice.
Finally, pop the plastic housing back on, plug your compressor in, and fire it up. That satisfying, instant roar of the motor is the sound of a job well done.
For the contractors and businesses we serve in San Luis Obispo, Paso Robles, Atascadero, and across the Central Coast, we know a fast, reliable repair is essential. This is the same process our own team uses to get your equipment back online in no time.
When It's Time to Call in the Pros for Air Compressor Repair
There's nothing quite like the satisfaction of a successful DIY repair, but one of the most important skills you can have is knowing when to put the tools down. Some situations just call for an expert eye to ensure everyone's safety and to keep a small problem from snowballing into a catastrophic, expensive failure. Your time is valuable, and sometimes the smartest, most efficient move is to let a professional take over.
So, what happens if you've done everything right—you identified the bad start capacitor for air compressor, got the right replacement, and installed it correctly—but the motor still just sits there and hums? Or maybe it kicks on but starts making a new, worrying sound. Those are clear signs that it’s time to power down the unit and step back.
Warning Signs That Demand an Expert Eye
If you've swapped the capacitor and you're still running into any of these issues, it's time to call for professional help. Pushing forward with your own troubleshooting at this point could lead to permanent motor damage or create a serious electrical hazard.
It still won't start. A new, correctly rated capacitor should have solved the problem. If it didn't, the issue is almost certainly deeper inside the motor, likely with the centrifugal switch or the motor windings themselves.
You smell something burning. This is a big red flag. A burning smell usually means the motor's windings are overheating and are dangerously close to burning out for good. Unplug the compressor immediately.
The motor is getting too hot. If the motor housing is unusually hot to the touch while it’s running, that’s a sign of major strain or an internal electrical short.
You hear strange noises. Any grinding, squealing, or knocking sounds point to mechanical failures, like shot bearings. That’s a much more involved repair than just replacing a capacitor.
Safety and preventing further damage should always be your top priorities. When a straightforward fix doesn't get the job done, bringing in a trained technician is the most cost-effective decision you can make in the long run.
Your Local Central Coast Repair Experts
For businesses and professionals here on the Central Coast, Contractor's Maintenance Service is the go-to for these kinds of complex repairs. We provide expert, hands-on service for customers in San Luis Obispo, Paso Robles, Atascadero, Arroyo Grande, Grover Beach, Pismo Beach, Morro Bay, and all the surrounding communities. When critical industrial equipment goes down, it's a lot like needing emergency AC repair services—you need a fast, reliable response from someone you trust.
We're an authorized service center for major brands like Graco, Wagner, and Multiquip, so we deal with warranty work and complicated repairs every single day. Our team has the specialized tools and deep diagnostic experience to find the true root cause of the failure, getting your equipment back to work quickly and safely. You can learn more about the value of expert industrial repair services and see why it’s often the best investment you can make for your business.
Got Questions About Start Capacitors?
Once you've wrapped up a repair, it's natural to have a few questions about the parts you just worked with. Understanding how a start capacitor for an air compressor actually works—and why its specs are so important—will give you a lot more confidence for the next time. Let's dig into some of the most common questions our technicians get.
This is good-to-know stuff, whether you're fixing equipment in a San Luis Obispo workshop or keeping a whole fleet running smoothly in Paso Robles.
Start Capacitor Versus a Run Capacitor
One of the biggest points of confusion is the difference between a start and a run capacitor. They might look similar, but they do completely different jobs and are never interchangeable.
Think of a start capacitor like a sprinter. It gives a powerful, short burst of energy to get the motor spinning from a dead stop. After just a few seconds, it’s out of the circuit. A run capacitor, on the other hand, is a marathon runner. It stays in the circuit the whole time the motor is on, helping it run more efficiently and smoothing out the power delivery.
Why the Microfarad Rating Is Non-Negotiable
We can't stress this enough: never use a capacitor with a different microfarad (µF) rating than the original. The motor was engineered by the manufacturer to start with a very specific amount of torque, and that torque is directly tied to the µF rating. It’s not a suggestion—it’s a hard rule.
Using a µF rating that's too low won't give the motor enough kick to get going. You'll just hear it hum. Going too high is even worse. It can create way too much heat in the motor's start windings, which can permanently burn them out and turn a simple fix into a catastrophic failure.
Stick to the exact µF rating. It’s the single most important part of choosing a replacement.
What to Do When a New Capacitor Is Not the Fix
You've installed a brand-new, perfectly matched start capacitor, but your compressor still won't fire up. It’s frustrating, for sure, but it’s also a big clue. This tells you the problem isn't the capacitor but something else in the compressor's electrical system.
If a new capacitor doesn't do the trick, the real culprit could be:
A faulty pressure switch that isn’t signaling the motor to turn on.
A bad centrifugal switch inside the motor that's failing to disengage the start circuit.
Damaged motor windings, often caused by previous overheating or strain.
At this stage, your best bet is to bring the equipment to a professional service center. For contractors and businesses in Atascadero, Arroyo Grande, Grover Beach, Pismo Beach, Morro Bay, and the surrounding San Luis Obispo communities, this is where our team can really help. Trying to diagnose it further without the right tools can easily lead to more damage.
When you need expert diagnostics, reliable parts, or professional repairs for your industrial equipment, trust the team at Contractor's Maintenance Service. We have the experience to solve the problem right the first time. Visit us at https://www.contractorsmaintenanceservice.com to learn more.


Comments